Showing posts with label condiments and garnishes. Show all posts

Friday, July 12, 2013

Recipe: Fig jam

This is a great tasting jam you can use for a number of things.  You could spread it on toast, but I'd rater have it alongside some nice cheese.  You could even warm it up a bit and put it on top of some ice cream for a simple and delicious summer dessert.  Fresh figs and honey make for a great pair, but you'll find that the white balsamic vinegar perfectly cuts through the sweetness for a beautiful balance. 

You will need:

10                        fresh figs
2 Tbs                   honey
2 Tbs                   sugar
2 Tbs                   white balsamic vinegar
2 Tbs                   water
to taste                 kosher salt

Method:

 - cut the stems off and dice the figs
 - put the figs in a pan with the water and slowly bring to a simmer
 - as the figs release water, stir and let the water cook off
 - when the figs are almost dry, add the sugar and honey and stir in
 - once the mixture is nice and thick, add the balsamic vinegar and simmer some more
 - season with kosher salt
 - remove from the heat and cool down
 - store in an airtight container and use as needed

Monday, June 24, 2013

Recipe: Smoked salt

Smoked salt brings an amazing effect to the right dish.   Just a sprinkle on a steak fresh off the grill gives it a real outdoorsy feel - even if you grill with propane.  A couple grains on top of a beautifully seared scallop or piece of fish and you just brought a whole new flavour to the plate.  You can use it like regular salt, but I usually keep it just for last garnishes so it doesn't get lost among the other flavours.  To this end, I recommend using Maldon salt - it has big, unmistakable pyramid-shaped crystals that leave no question as to where that taste of smoke came from.  Because the crystals are so big, you only need a few well placed ones to make a big addition to your dish.  Vegetable oil is a very optional addition.  I've used it because oil is a great vehicle for flavour and can boost the smokiness of the salt.  The key is to remember to use only a very small amount - the salt shouldn't be clumpy or appear wet, you should barely even notice it's there.  A good strategy is to keep some salt back, so if you think you may have added a bit too much, you can even things out by adding more salt.

You will need:

Maldon salt
cheesecloth
smoker
vegetable oil (very optional)

Method:

 - start the smoker early (on a cool setting) to get some smoke built up inside
 - line a smoker rack with cheesecloth - a few if you are processing a lot of salt
 - if using oil, put the salt in a bowl, add a TINY bit of oil and mix well
 - put a thin layer of salt on the cheesecloth
 - load the rack (or racks) into the smoker
 - smoke at least an hour - I like two
 - taste test - do this away from the smoker to be truly objective
 - smoke more if needed
 - remove the racks from the smoker and let cool
 - store in airtight containers
 - use as needed

Tuesday, June 11, 2013

Recipe: Citrus salt - lemon

Specialty salts are a great way to add a lot of "wow" to a dish.  Some are easier to make than others, but making a citrus salt is a really good and easy way to get introduced to the concept.  In this example, I am using lemon and kosher salt, but you can switch both up.  If you switch the citrus fruit, keep in mind the size of the fruit and try to keep the overall amount of the zest the same.  Switching the salt can have a huge effect - the large pyramid shaped crystals in Maldon salt will really change the texture on the tongue, while a coloured salt like a Hawaiian red will have an interesting visual effect.

You will need:

250ml / 1C                     kosher salt
2                                     lemons

Method:

 - set the oven to 150F
 - using a microplane, zest the lemons
 - rub the zest into the salt well with your hands
 - spread the salt out on a baking sheet
 - place the salt in the oven for 30 minutes until completely dry

Friday, May 31, 2013

Recipe: Puffed couscous

It has been said that every dish needs something crispy.  It helps keep things interesting.  The next challenge then is to come up with interesting crispy things.  Puffed couscous fits the bill pretty well - it's super crispy, can be seasoned just about any way you want, and can either be scattered around the plate or contained within an element, for example a crispy layer in a crab Napoleon.  Seeing as they looked like miniature Corn-pops, I tossed a batch in cinnamon sugar, then added some milk to make the world's smallest bowl of breakfast cereal - how's that for an unexpected dessert garnish?  This works much in the same way that I did the puffed rice, only using Israeli couscous.  Get the biggest ones you can get for best effect.  You can also flavour the cooking water to get the seasoning right into the couscous.


You will need:

Israeli couscous (250ml /1C is a good start)
water
seasoning


Method:

 - put the couscous in a pan of water and slowly bring to a simmer (not a boil)
 - let simmer about half an hour - you want to basically overcook it
 - strain and rinse in cold water to keep them from sticking together
 - give a paper lined sheet pan a light spray with pan spray
 - spread the couscous out evenly
 - dry completely - at this point the couscous can be stored well in a container
 - fry in a fine mesh strainer in hot oil until they puff
 - drain on paper
 - season as desired
 - use as needed


world's smallest bowl of cereal


Monday, May 20, 2013

Recipe: Cedar jelly

This jelly is surprisingly tasty and very West Coast.  Make sure you are picking your cedar tips from the tender tips as they are the youngest and most fragrant part of the branch.  As well, if you use the branch further down the stem, you will be steeping the bark in the water and as you might expect, get a far more woody flavour than you are probably going for.  While cedars have a nice aroma and are quite easy to find, if you are ambitious, keep an eye out for grand firs in the forest - they are often very tall, and have a grey blistered bark on them.  The blisters are pockets of fragrant grapefruit smelling sap - open one up to see.  The tips of these branches also have that grapefruit character and are a nice alternative to the cedar.

This recipe is intended to be used on a hot plate, thus the use of agar agar.  If you are using the jelly on a cold plate, you may prefer the softer texture of 100% gelatin and go with a ratio in the neighborhood of 6 sheets for every 2 cups of liquid.

You will need:

750ml / 3C                cedar tips
500ml / 2C                water
250ml / 1C                sugar
1                                lemon - juiced
10g / 0.4oz                agar agar
1 sheet                       gelatin

Method:

 - put the sugar and water together and bring to a simmer
 - turn off the heat and add the lemon juice and cedar tips
 - allow to cool (strain out the cedar tips early if you find the tea is strong enough)
 - strain the tea
 - whisk the agar into a small amount of the tea to incorporate
 - whisk in the rest of the tea
 - soak the gelatin, drain and set aside
 - bring the tea with the agar to a simmer
 - melt in the gelatin
 - pour into the vessel you want to set it in
 - cool completely
 - cut and use as desired

Sunday, May 19, 2013

Recipe: Prawn crackers

Prawn crackers are great on their own, but I like to break them into random shapes and use them as a garnish on a dish.  They are very easy to make, but they do take some time to dehydrate enough to fry.  Some methods have you rolling big logs, then cooking them and cutting slices to dry out.  This will give you regular shapes to your chips, but it also takes more time in the cooking stage and a bit of effort in the cutting stage.  If you are ok with random shapes, this method quickens the cooking and really simplifies the cutting, or even eliminates it altogether.  Ideally you want to use a vacuum sealer, but you can use a sturdy plastic bag, press the air out after rolling and seal really well with waterproof tape.  As long as you keep your ratio of prawn meat to tapioca flour right, you can size this recipe to what you have on hand - for that reason, the focus here is on technique over specific amounts.  The prawn stock is really optional - it can help make your puree smooth and add some flavour, but you will want to compensate accordingly by increasing the tapioca flour.  Make sure you use good quality prawns for a better result and so you can check your seasoning without fear.

You will need:

one part                                 peeled and deveined fresh and raw prawn meat
as needed (and optional)       prawn stock
one part                                 tapioca flour (plus more if you use stock)
to taste                                   sea salt
to taste                                   pepper (white if you want a clean look, otherwise black is fine)

Method:

 - weigh your prawn meat and take note
 - roughly chop the prawns (this helps puree it without heating it up too much)
 - in a food processor, puree the prawns very smooth - use prawn stock if desired and not how much was used
 - add an equal weight of tapioca flour to the prawn meat (and stock) and pulse to make a sticky dough
 - season with salt and pepper (you can be a bit on the generous side here)
 - divide the dough between large vacuum bags so there's room to roll the dough thin
 - seal the bags tight
 - roll the dough inside the bag to about 2mm thick
 - poach or steam about 25 minutes so the dough is fully cooked
 - cool in an ice bath
 - remove from the bag
 - cut shapes with a knife or wait and break shards later
 - dehydrate completely
 - break the sheet into pieces if you didn't cut it before
 - fry at 350F / 177C until fully puffed
 - drain on paper towel
 - season
 - serve

Saturday, May 4, 2013

Recipe: Champagne raspberry mignonette

As the weather gets warmer, oysters will get more popular.  This mignonette is a simple preparation that adds a nice fruitiness without overpowering the oyster.  The water is there to tame the acidity, but if you want the extra zing, just cut it back.

You will need:

148ml / 5oz                   Champagne vinegar
148ml / 5oz                   raspberry vinegar
148ml / 5oz                   water
15ml / 1Tbs                   sugar
1                                    shallot
to taste                           coarse ground black pepper
to taste                           kosher salt

Method:

 - mix the vinegars and water
 - add the sugar and season with salt to taste
 - gently warm the mix to melt the sugar and salt
 - cool 
 - mince the shallot fine and add it in
 - add black pepper to taste
 - serve on fresh shucked oysters


Tuesday, April 30, 2013

Recipe: Preserved egg yolks

Looking for an unusual garnish?  How about grating an egg yolk on a microplane?  Preserved egg yolks are very tasty and can add a great colour to a plate.  What do they go with?  For starters, things that already go with eggs - charcuterie, salads, beef tartare, and more.  Once you taste them, see where your inspiration takes you.  Some people like to stop the process short after the salt curing, at which point, the yolk isn't firm enough for grating, but has it's own semi-firm and creamy quality.  By all means, give one a sample at this stage, but we're going to take it all the way through the hanging process as well.  If you want to mix things up a bit, add a few spices to the salt mix to infuse into the yolks.  This is very easy to do, just give yourself a few weeks to let things happen at their own speed.

You will need:

2 parts                   kosher salt
1 part                     sugar
as needed              eggs


Method:

 - mix the sugar and salt together 
 - put the mix in a non-reactive container
 - make a divot for each egg yolk you will cure
 - separate the whites from the yolk without breaking them
 - gently lay the yolks into the divots and cover with the salt mixture
 - store the container in the fridge and let cure for about two days
 - remove the firm yolks from the cure and brush off any extra salt
 - wrap the yolks individually in cheesecloth and hang in a cool and dry place (the fridge if you must)
 - after about two weeks, the yolks should be hard enough to grate
 - unwrap and use as needed

Thursday, April 25, 2013

Recipe: Tomato tartare

This recipe is not complicated, but can add a touch of elegance and freshness to a dish.  At first
glance, this may look like a salsa, but a little more care goes into preparing the tomatoes and there's less emphasis on "spiciness" - the goal here is to focus on the tomato, and the other ingredients are meant to compliment it and extend the flavour profile.  If you press the tartare I to. A ring mold, it makes a great landing pad for the focal item of a dish that may otherwise try to slide around on the plate.  Try it with a single lamb chop, or a nice little section of pork belly.  Have a look at my post for peeled tomatoes if you want a little more insight into the best way to blanch tomatoes for peeling.

You will need:

10                   medium tomatoes (on the vine are great)
1                     shallot
2Tbs               chopped Italian parsley
2Tbs               olive oil
to taste           kosher salt

Method:

 - get a pot of water on to boil and an ice bath ready
 - score the bottoms of the tomatoes, blanch in the boiling water, then cool off in the ice bath
 - peel the tomatoes, then open them up and remove the seeds
 - pat the tomatoes dry with a paper towel
 - cut the tomatoes into small dice and put in a bowl
 - mince the shallot fine and add to the diced tomato
 - chop the parsley and add to the bowl
 - add the olive oil and mix well
 - season with kosher salt
 - use as needed

Wednesday, April 17, 2013

Recipe: Red pepper and chipotle aoli

This tasty aoli has a nice combination of sweetness, spice and smokiness to it, making it super versatile.  Use it with crab cakes, spread it on a sandwich, dip vegetables or chips, even use it as a dressing for a pasta salad.  For recipes like this I often use just the sauce from the chipotles - it has all the heat and flavour of the chiles, but it spares you the messy task of opening up the chiles to seed them and purée them.

You will need:

250ml                          roasted and  puréed red peppers
250ml                          mayonnaise
125ml                          sour cream
35ml                            adobo sauce from chipotles (see recipe for abuela's chipotle)
25ml                            honey
to taste                         coarse cracked black pepper
to taste                         kosher salt


Method:

- roast, peel and seed red peppers
- purée and measure out 250ml
- whisk in the mayo, sour cream, adobo sauce and honey
- season with cracked pepper and kosher salt
- use as needed

Sunday, April 14, 2013

Recipe: Barbeque sauce

To be honest, it was hard to come up with a recipe for barbeque sauce.  It's one of those things that after a while, you can just wing it - you have a few ingredients that are the major players (ketchup, molasses/brown sugar, Worcester sauce), then you have all the others which come into play depending on your available supplies, taste, and the end usage in mind.  To come up with this recipe, I actually had to document my actions while I threw it together.  I took care to make it somewhat of a "standard" recipe, so it is versatile to most situations, but tweak it as the event demands.  If you are cooking along an Asian barbeque theme, add some teriyaki, sriracha or any other condiment that appeals to you.  Some baby back ribs on a bit of a Hawaiian theme might want a little pineapple juice.  I purposely didn't use fresh garlic or onion because it's unlikely you will make exactly the amount you need, and this way any leftover sauce will keep very will in the fridge.  As well, I find that when a sauce has chunks of garlic in it, the chunks end up burning, so by using powder, the sauce will cook evenly.  Have fun with it.

You will need:

500ml / 2C                   ketchup
125ml / 1/2C                molasses 
60ml / 1/4C                  brown sugar
15ml / 1Tbs                  Worcester sauce
15ml / 1Tbs                  soy sauce
10ml / 2tsp                   smoked paprika
7.5ml / 1.5tsp               ground black pepper
7.5ml / 1.5tsp               ground cumin
7.5ml / 1.5tsp               garlic powder
7.5ml / 1.5tsp               onion powder
pinch                            cayenne
to taste                         kosher salt

Method:

 - whisk all ingredients together well (except salt)
 - check taste and make any adjustments
 - season with salt
 - use

Tuesday, March 26, 2013

Recipe: Coffee and Grand Marnier gelee

Coffee gelee has a way of working it's way around a menu.  One of the most popular uses I've seen a lot are interpretive versions of tiramisu.  As the original dessert can be a bit difficult to serve clean, it is often easier to make a  tiramisu flavoured bavarian or mousse and set it up in a glass.  The coffee element then often finds itself as a gelee in the bottom of the glass, or set up separately, cut into cubes and served on top as a garnish.  When I made this recently, I did the latter.  While my dessert tipped its hat to tiramisu, it was different enough I didn't feel bound to use rum or Marsala as the participating alcohol, and went with one of my favorites, Grand Marnier.  I like the ratio of gelatin in this, it is firm enough to cut and handle, but still soft and delicate.

You will need:

450ml / 15.2oz                     strong brewed coffeee
50ml / 1.7oz                         Grand Marnier liqueur 
30ml / 2Tbs                          sugar
6 sheets                                gelatin

Method:

 - soak the gelatin in cold water, then drain
 - measure out the hot coffee
 - stir in the sugar
 - melt in the gelatin
 - stir in the liqueur
 - set in a dish about 1cm deep
 - let set up completely
 - cut cubes and use as needed


Sunday, March 17, 2013

Recipe: Chocolate wafers

mix the dry
These chocolate wafers make great garnishes on desserts.  They taste good, are ultra crisp, and can be broken off in interesting and abstract shapes.  If you want to jazz it up a little, try adding a little black pepper or chili spice to the mix.  This recipe will make enough to spread over a full size sheet pan, or two home size pans.


You will need:

7g / 1/4oz                cocoa powder
85g / 3oz                 sugar
43g / 1.5oz              flour
60ml / 1/4C             milk
mix the wet
1                              egg white
2.5ml / 1/2tsp          vanilla
pinch                       kosher salt


Method:

 - set the oven to 350F / 177C
 - set up a silicone mat or panspray a sheet pan and stick a layer of parchment down and press out the bubbles
 - mix the cocoa, sugar and flour and a pinch of salt
 - lightly whisk the white, then add the milk and vanilla
 - add the wet mix to the dry and whisk smooth
combine
 - spread as thin as possible on the sheet pan
 - bake 10 minutes at 350F / 177C, rotate and bake another 10
 - pull from the oven and cool completely
 - break off random shards and use or store in an airtight container


spread thin


bake


Monday, March 11, 2013

Recipe: Ranch powder

Ranch powder was maybe my biggest victory in the creation of the hot wing burger.  We already had a creamy Parmesan for the bun and the burgers were going to get hot sauce, so another "sauce" wasn't needed, but I felt ranch dressing deserved representation as one of the all time favorite wing dips.  

I first tried using tapioca maltodextrin to see if the fat content of the dressing was enough to make a powder - it wasn't.  The moisture content of the ranch killed the powder before any significant flavour could be developed.  We could always go with the creamy Parmesan on one side of the bun and ranch on the other, but I really wanted to make the powder happen, but how?

As with lots of great ideas, just before I went to sleep the night before the burger, it came to me - old school.  I could use egg white and dehydrate the ranch, the only question was if there was time.  As it turned out, the dehydrated ranch was ready to go to work with about a half hour to spare, and the result was even better than expected.  

Whereas powders made with maltodextrin are really fluffy, they take a small amount of product and spread it over a large area, so to speak.  By dehydrating the ranch, I took a larger amount of product and reduced it, thereby concentrating the flavour.   The long and low heat mellowed the garlic, but really brought out the tang in the buttermilk and sour cream.

For this recipe, I used the ranch dressing recipe from the earlier post, but kept all the herbs and pepper aside and mixed them in later to keep their flavours sharp and fresh.  I crushed the dried dressing fine by hand so it stayed flaky and closer to the size of the chopped herbs, but as long as you have it dry enough, it will grind in a spice grinder to a fine dust.

By the way this powder is ridiculously good on popcorn.


You will need:

spread thin and dehydrate
250ml / 1C               ranch dressing base (dressing minus herbs and pepper)
1                               egg white
to taste                      chopped chives
to taste                      chopped Italian parsley
to taste                      chopped dill
to taste                      coarse ground black pepper
1                               large silicone mat

Method:

 - blend the ranch base with the egg white
 - spread out on a silicone mat as thin as possible
 - dehydrate at 140F / 60C or as low as possible for 6 to 7 hours until totally dry 
 - scrape the ranch off the mat and crush fine
 - mix in the herbs and pepper to taste
crush up and mix in the herbs and pepper
 - use as needed or store in an airtight container


Recipe: Hot and sweet celery slaw

peel and julienne the celery
This little ditty came about as Dan and I were brainstorming the hot wing burger (coming soon).  We wanted celery involved in an interesting way and a slaw seemed a good direction to go.  We didn't want to muddle the celery with other vegetables but still needed something to qualify it as a slaw.  We finally settled on using the pickle liquid from a jar of banana peppers as the base for the dressing.


You will need:
as needed                   celery
250ml / 1C                 banana pepper pickle juice
60ml / 1/4C                sugar
melt the sugar into the pickle


Method:

 - peel the outer ribs of the celery with a vegetable peeler
 - julienne the celery and put in a bowl
 - put the pickle liquid and the sugar in a saucepan and heat to melt the sugar
 - cool the liquid
 - pour over the celery and mix well
 - use as needed


dress the celery


Tuesday, March 5, 2013

Recipe: Strawberry relish

This little concoction is a good addition to a plate when you want to keep your guests on their toes.  While it remains sweet, colourful and fruity as a proper dessert garnish should be, the little bit of salt, black pepper and a hint of vinegar make for a pleasant surprise.

You will need:

1C / 250ml                          strawberries (small dice)
2Tbs / 30ml                         strawberry coulis
2Tbs / 30ml                         passion fruit vinegar
pinch                                   kosher salt
pinch                                   coarse ground black pepper

Method:

 - add all ingredients in a bowl and mix well

Monday, February 18, 2013

Recipe: Gastrique - mango lime

I made this sauce recently and was really pleased with the results.  When finished, the flavours of both the lime and the mango came in clear and the acidity of the lime was enough that no vinegar was needed.  A good quality mango concentrate will help a lot here - you get a potent mango flavour and the bright yellow colour at the same time.  You could reduce juiced mangoes, but in order to avoid caramelizing the sugars and compromising the colour, you would have to reduce it at such a low temperature it would take an excessively long time.  

In the process of making this, I also stumbled upon the two consistencies you might want out of this gastrique.  The first is more of a plate garnish, with a thick caramel-like flow to it, the second is more like a cold sauce, but it stays emulsified beautifully and holds a nice pooled shape when poured onto a plate.  In both cases, the ratio of lime juice to mango stays the same, so the only difference in the flavour profile is that the thicker one is slightly sweeter because a greater proportion of the sauce is made up of the caramel that starts the recipe.

You will need:

1C / 250ml                                 white sugar
1/2C - 1C / 125ml - 250ml        fresh squeezed lime juice (amount depends on desired thickness)
1C - 2C / 250ml - 500ml            mango concentrate (amount depends on desired thickness)
to taste                                        kosher salt

Method:

 - put the sugar in a pan with a bit of water to make a thick syrup
 - cover the pan loosely and turn the heat on (the cover creates steam and prevents crystallization)
 - cook until the syrup turns to a light amber caramel, then turn the heat to low
 - add the lime juice (1/2C for the thick gastrique, 1C for the loose)
 - add the mango juice (1C for thick gastrique, 2C for the loose)
 - keep the heat on low, stir, and let the caramel and juices come together
 - season with kosher salt
 - turn off the heat and cool completely
 - refrigerate 
 - use cold or at room temperature

Sunday, February 10, 2013

Recipe: Tempura batter (extra crispy!)

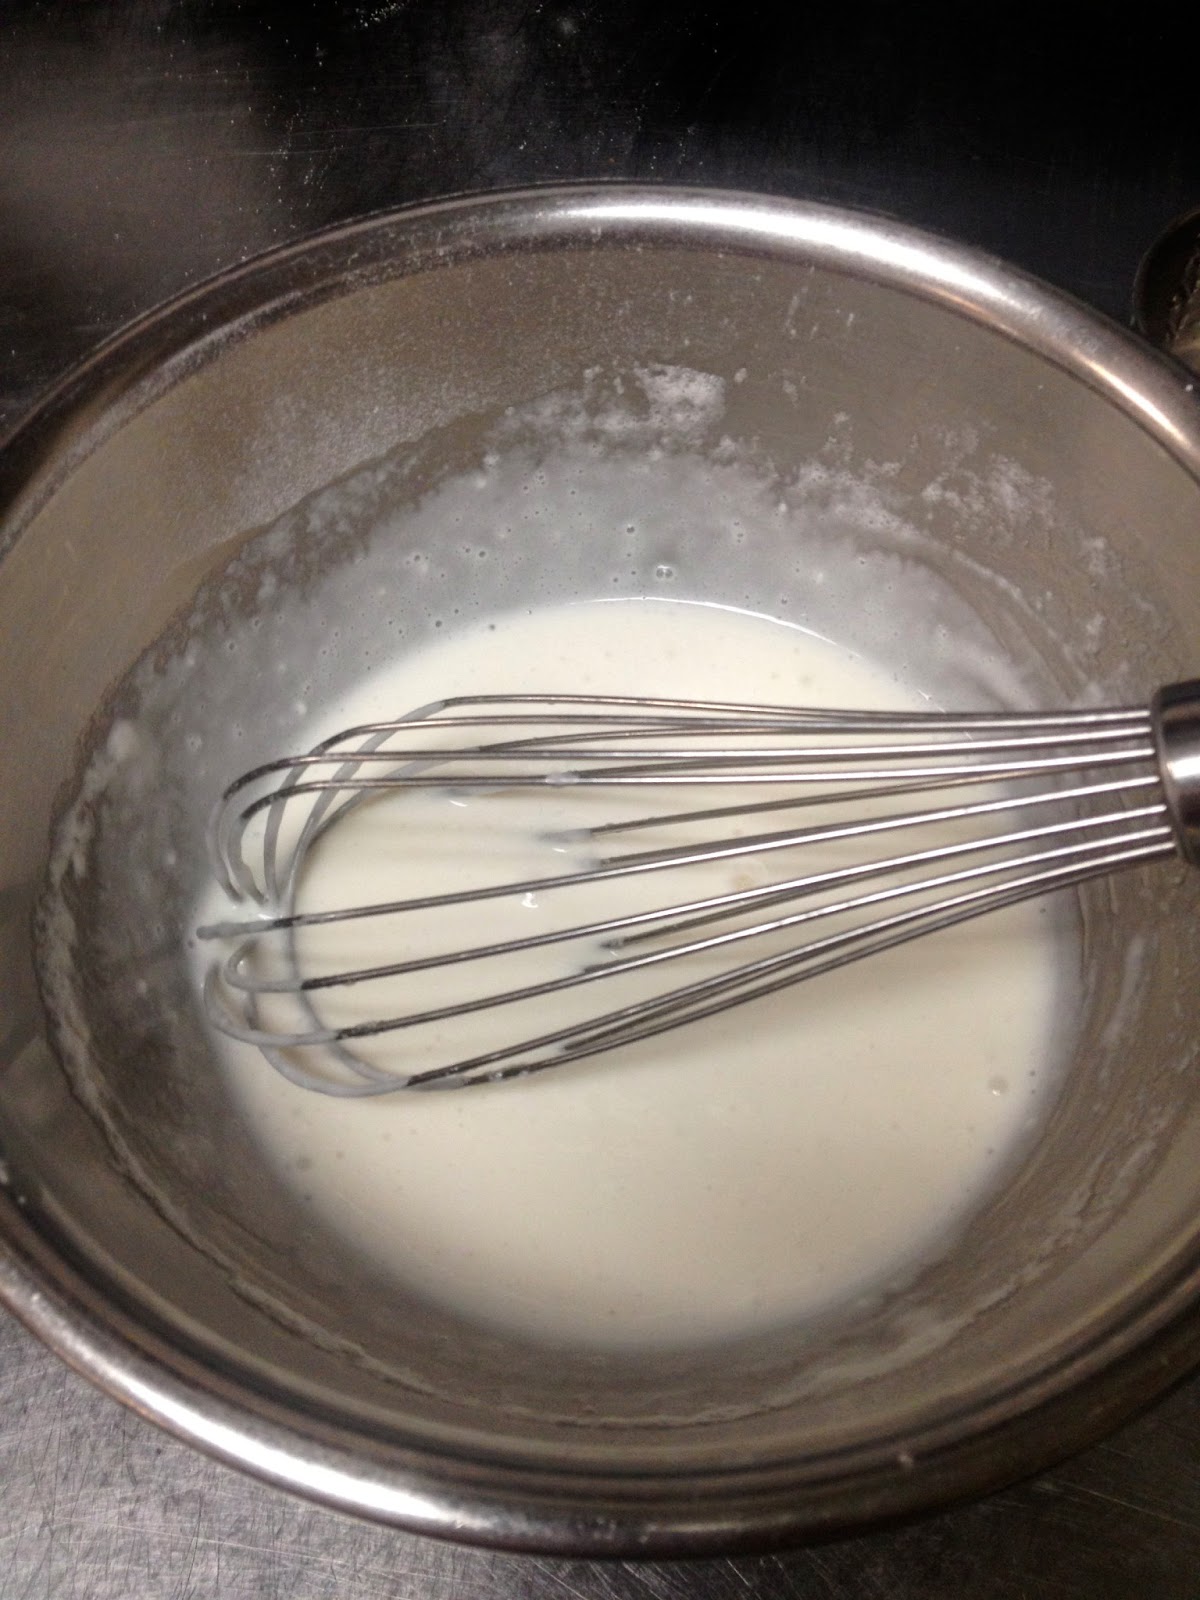
lightly whip the whites
I got thinking yesterday about that last recipe for tempura batter.  It's good no doubt, but could it be better?  Partly inspired by Heston Blumenthal's approach to advancing a recipe, I mentally broke down every element and conceived how it might work better.  When you already have a decent recipe, are you splitting hairs by making it a little bit better?  Well, better is better, and if you have all the ingredients (and equipment), this recipe is just that little bit better than the last.

First off, in my experience, for the sake of crispiness, rice flour and cornstarch produce better results than wheat flour, so this recipe uses a mix of both.  Similarily, by using egg whites instead of whole eggs, many recipes will come out crispier - after all, you don't make pavlova with whole eggs.  

mix the batter
The next bit was directly inspired by Blumenthal's fish and chips episode of "In search of Perfection" - at every stage in the process, I worked to get air into the mixture, as it is the air that will eventually give you the crispiest result.  I lightly whipped the egg whites before mixing.  Finally, I strained the mix and loaded it into an iSi gun and charged it.  Overkill?  Possibly, but as I said, if you have the ingredients and the equipment, why not go all out?

You will need:

125ml / 1/2C                rice flour
125ml / 1/2C                cornstarch (plus extra for dredging)
2                                   egg whites
strain
250ml / 1C                   soda water
pinch                            baking soda
to taste                          kosher salt

iSi gun
NO2 charges

Method:

 - sift the rice flour, cornstarch, salt and baking soda together
 - separate the egg whites and give a light whisk
 - add the egg whites to the dry mix, add a bit of the soda water and mix smooth
load the gun
 - add more soda water until you have a nice consistency (slightly thicker than cream)
 - strain the mix
 - load it into an iSi gun and charge with NO2
 - shake very well and keep very cold
 - set your fryer to 360F - 375F depending on the size of items frying
 - dredge the item in cornstarch and shake off any excess
 - blast the batter into a bowl
 - coat the item in the batter 
 - fry
 - drain on paper towel and season with salt


the fully aerated batter


tempura pork belly and Rice Krispy square


Saturday, February 9, 2013

Recipe: Tempura batter

"Can I offer you some tempura _________?"  Pretty much an easy sell to a guest.  Certainly in Vancouver, and I'm pretty confident worldwide,  tempura items have huge popularity, to the point that it's not just reserved for Japanese food anymore, it crosses over everywhere into all styles of food.  We always have some tempura batter ready to go at work, so it's not uncommon for us to be checking out a new item and someone comes out with "it's pretty tasty, but will it deep fry?" - into the batter and into the fryer it goes.  All manner of fish, poultry, vegetables, fruit (a bit trickier), pork belly, the list goes on, we've tested it.  I've even made tempura french fries just to make sure we're covering all our bases (surprisingly delicious and probably a sin).  This recipe is a nice one not only because it works, but the numbers are all in sync with each other which makes it easy to remember and multiply for larger amounts.  Some great variations simply involve adding something to the batter.  Togarashi spice will add a nice zip to the batter while black sesame seeds add not only a nice flavour, but have a great visual effect on the product.  Best to make this as close to cooking time as possible.

You will need:

1                        egg
1C / 250ml        flour
1C / 250ml        soda water
pinch                 baking soda
to taste              kosher salt
as needed          cornstarch for dredging (optional)

Method:

 - set your fryer to 360F - 375F depending on the size of the item frying
 - Sift the flour, salt and baking soda together
 - whisk the egg well
 - whisk some of the soda water into the egg
 - whisk the egg/water mix into the flour mix until smooth
 - add the soda water until you have a nice consistency (a bit thicker than cream) - you don't have to use it all
 - if desired, dredge the item with cornstarch and shake any excess off
 - dip in the batter
 - fry
 - drain on paper towel and season with salt
 

Friday, February 8, 2013

Recipe: Caramelized toast

make toast
This garnish would have been absolutely perfect on the peanut butter creme caramel - but by the time I remembered it, we had already eaten it.  Remember, we were shooting for a peanut butter and jam sandwich effect, and this would have brought in buttered toast into the mix (and caramel to boot).  It's really just about as simple as it sounds, but remains an unusual item, both delicious and interesting.  The caramel gives a welcome crunch to the surface, but the inside retains its chewy buttery toast character.  As for presentation, it lends itself best to breaking off abstract pieces, showing off the texture of the toast.  I've also used this to garnish a creamy cauliflower soup - shockingly good.


make caramel
You will need:

sliced bread - your choice (I used white sourdough)
butter
sugar


Method:

 - butter the bread
 - toast the bread on both sides - use a hot pan or griddle rather than a toaster
 - cook the sugar to an amber caramel
drop in the bread
 - drop the toast into the caramel and let the caramel soak in
 - turn the toast over and let the other side soak up the caramel
 - lay the toast on parchment paper and let the caramel set
 - break off pieces and use as desired


let it set