 This is just a heads up about a really nice small batch beer you might want to try. It's from the Coal Harbour Brewing company, one of the newer breweries around Vancouver (it's actually just down the road from me). I've tried a few smoked beers now and again - not that there have been too many - and this one seems to catch the smoky character best without being too abrasive. The beer is dark and really smooth, remarkable again since this baby weighs in at a hefty 8.5%. Carla and I shared a 650ml bottle to go along with our arrachera - a perfect match. Help support small breweries, give this one a go.
Showing posts with label cocktails and drinks. Show all posts
Showing posts with label cocktails and drinks. Show all posts
Tuesday, May 14, 2013
Product review: Coal Harbour's Smoke and Mirrors beer
This is just a heads up about a really nice small batch beer you might want to try. It's from the Coal Harbour Brewing company, one of the newer breweries around Vancouver (it's actually just down the road from me). I've tried a few smoked beers now and again - not that there have been too many - and this one seems to catch the smoky character best without being too abrasive. The beer is dark and really smooth, remarkable again since this baby weighs in at a hefty 8.5%. Carla and I shared a 650ml bottle to go along with our arrachera - a perfect match. Help support small breweries, give this one a go. Tuesday, January 29, 2013
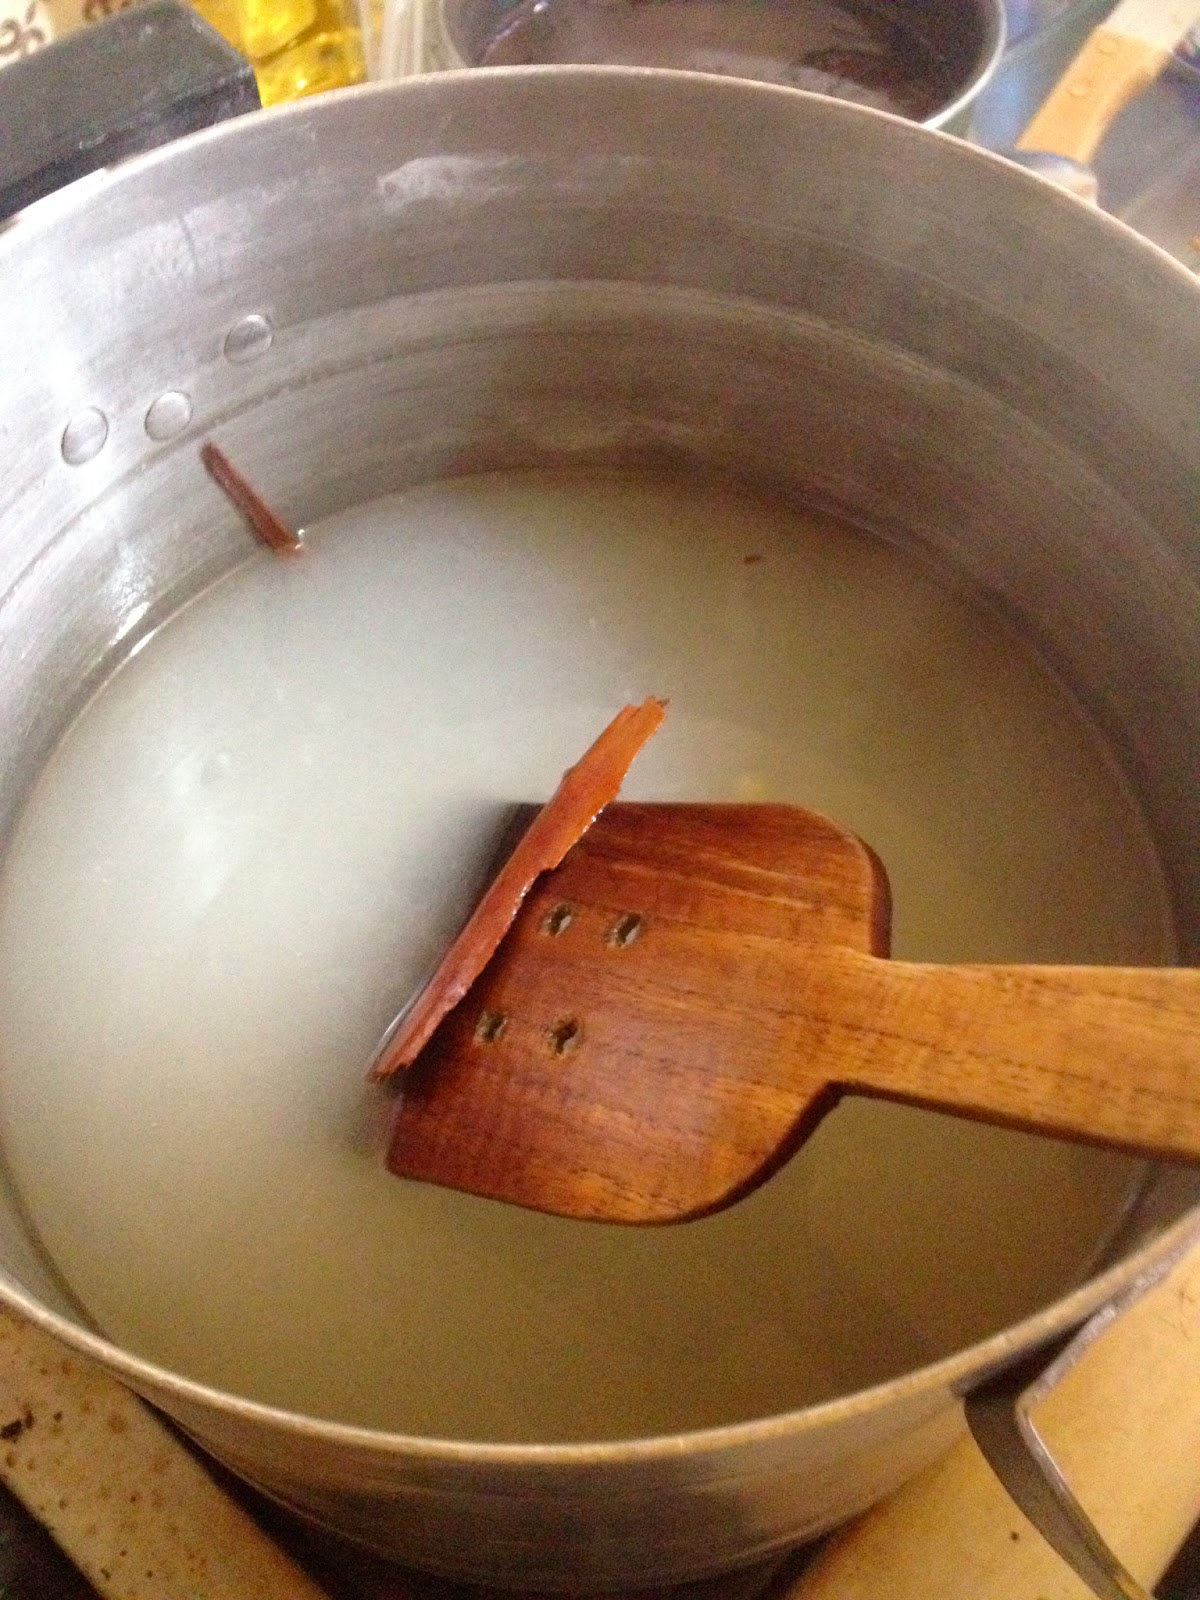
Recipe: Agua de avena (oatmeal water)
Another surprisingly refreshing drink I came across in Mexico was agua de avena, or oatmeal water. I expected something similar to a horchata, but it wasn't milky at all - it was closer to a lime-aide and really delicious. The oatmeal gives it a really hearty character, which in turn is mellowed by a bit of sugar, then made refreshing with lime juice. What's more is that between the oatmeal and the lime juice, you're getting a nice bit of nutrition too.
You will need:
2oz / 57g / 1/2C rolled oats
1/2C sugar (or to taste)
1qt / 1L water
1 lime (or to taste)
Method:
- bring the sugar and water up to a boil
- drop in the oats, cover and let sit for an hour
- strain
- chill completely
- serve with fresh lie juice
You will need:
2oz / 57g / 1/2C rolled oats
1/2C sugar (or to taste)
1qt / 1L water
1 lime (or to taste)
Method:
- bring the sugar and water up to a boil
- drop in the oats, cover and let sit for an hour
- strain
- chill completely
- serve with fresh lie juice
Monday, January 28, 2013
Recipe: Tejuino (fermented corn drink)
As we were enjoying our travels in the state of Jalisco, we kept coming across people selling tejuino - a delicious and refresing drink made from masa and seasoned with lime juice and a inch of salt. It seemed a bit of a curious combination for a drink at first, but after we had tried it, we were game every time. It is made with the same masa used for tortillas and tamales, but if that's a bit tricky for you to get, you can substitute cornmeal, but you will want to strain it as it is a lot coarser than masa. If you can't get piloncillo, you can more or less substitute by weight with brown sugar, but pull back a bit and add a touch of molasses. Tejuino also comes in either femented or fresh forms. Fresh can be ready in a few hours, but the fermented version needs up to three or four days at room temperaure to be ready (depending on your local climate). A nice serving variation is to make a lime zest and chili salt to rim your glasses with.
You will need:
1kg corn masa
1kg piloncillo
3L water (at least)
3 limes (at least)
to taste kosher salt
Method:
- put the piloncillo in a pot with the water and heat to melt
- mix the masa with the syrup (you can use a blender if it's easier)
- juice two of the limes and add to the mix
- if fermenting, cover with a cloth and leave at room temperature for 3 to 4 days, then refrigerate
- if serving fresh, cool the mix down, then transfer to the fridge and let it develop at least a few hours- with both versions, remove from the fridge and add water if you want a thinner consistency
- season with fresh lime juice and salt
- serve over ice in a lime and chili salt rimmed glass (optional)
Monday, January 21, 2013
Recipe: Guava atole
 |
| cut, seed and cook the guavas |
Guavas are among my favorite fruits, and the in-laws know that few things make a nicer for me than the smell of a guava atole brewing when I walk in the door from the airport. On this trip, I was greeted with the aroma of a basket of fresh ripe guavas on the table - far from a disappointment as it meant I got to make the atole. Don't be put off by the fact that cinnamon gets blended right into the mix - the cinnamon sticks in Mexico tend to be much softer, and once cooked up, blend in just fine. If you are using the harder variety, you my want to simply steep the cinnamon, or buzz it up in a coffee grinder beforehand.
 |
| puree |
You will need:
12 ripe guavas
2 cinnamon sticks
2L water
90ml cornstarch
210ml white sugar
500ml milk
 |
| make the slurry |
Method:
- wash the guavas, cut them open and scoop out the seeds
- take 250ml of the water and one of the cinnamon sticks and cook the guavas up like a marmalade
- blend everything together really well, then strain
- take the rest of the water (cold), and make a slurry with the cornstarch
- heat the slurry up in the pot with the other cinnamon stick to thicken
- add the pureed guava
- add the sugar
 |
| add the puree |
- add the milk
- bring back up to heat and serve
 |
| add the sugar and milk |
Product review: Minerva beer
Tipping the odd cerveza when you are down in Mexico is fairly par for the course, but I always try to steer away from the Coronas - not that there's anything really wrong with Corona, but it just seems so much the standard for foreigners, plus I like something a little darker anyway, like a Negra Modelo or Victoria. On this latest trip, I was told that the small brewing industry has been making some advances since our last trip down. A trip to the local store isn't quite the craft-brewing buffet we enjoy in Vancouver, but a larger selection is always encouraging.
 On this trip, I was introduced to Minerva, a beer hailing from Guadalajara, and a real treat. Beautiful colour, robust flavour, and a rich creamy head, this is a "real beer" that can stand up with the cream of the crop. I'm not going to attempt to place it in a particular rank among the world classics, because beer depends on mood and personal taste, but I can say that this perfectly hit the spot. If you are on vacation, it's always nice to lend a hand to some of the little guys for a change, and Minerva is well deserving if you want to try something different.
Sunday, January 20, 2013
Recipe: Traditional egg nog
Here in Mexico, the Christmas season extends to January 6 for the celebration of the Reyes, the three kings who came to see Jesus. Since rompope is so similar to egg nog, I thought it would be nice to make a traditional egg nog to have with our Rosca de Reyes bread. My dad is responsible for bringing this frothy, delicious treat into our family's holiday tradition, so being my first Christmas as a dad myself, I thought I should keep things going - even though it will be some years before Isabella can tip one. The original recipe called for equal parts white rum and Canadian rye, but finding rye in Mexico City wasn't working out and I went with all rum. I went with a nice bottle of dark Appleton in an effort to find a bit of a middle ground to the original flavour - the result? The family couldn't get enough of the "Canadian Rompope". I was hoping to hang onto a bit for a late night nipper, but alas, it was all gone. This will make 30 5oz portions.
You will need:
12 egg yolks
12 egg whites
250ml / 1C sugar
750ml / 3C dark or spiced rum
500ml / 2C cream
1L / 1qt milk
pinch salt
as needed fresh grated nutmeg
Method:
- separate the eggs and beat the yolks
- add the sugar and cream really well
- very slowly, add the rum to the yolks while beating
- cover and chill overnight
- add a pinch of salt to the egg whites and beat to medium firm peak
- whip the cream to a medium firm peak
- stir the milk into the yolk mix
- fold in the egg whites
- fold in the cream
- chill one hour
- serve with a pinch of nutmeg to garnish
Sunday, December 9, 2012
Recipe: Cola de mono (monkey's tail)
As a big fan of monkeys, when I come across a monkey-related recipe, I feel compelled to investigate. Cola de mono is a Chilean holiday drink made from coffee, rum and spiced milk - a combination that seems to me a trifecta of good times. In my investigation, most of the formulas were pretty large, which is great if you are having a party, but a bit much if you just want to make a drink or two, so I shrunk it down a bit for convenience with the intent that it is easier to multiply a recipe than divide it down.
 |
| infuse the milk with the spice |
Where some recipes brew the spices in water before mixing with the milk, I went with all milk simply because I hate watered down milk (skim milk makes me angry). This is not a problem as long as you are gentle with the heat as you infuse the spices. Instant coffee is also commonly used which I was ok with as I had a couple packs of Starbucks Via handy. Not to overtly plug Starbucks (I'm not the hugest fan), but their instant coffee is actually a great product for getting quality coffee flavour into a recipe (it's great for custards) - It dissolves well, tastes good and you don't have to account for any added water as you would with brewed coffee or espresso. The rum? I like dark or spiced, especially around the holidays, so for this one I went with "The Kraken" black rum. I topped it off with a bit of frothed milk and grated nutmeg for a nice layered look.
 |
| the brew |
You will need:
500ml / 2C milk
1 cinnamon stick
4 cloves
45ml / 3Tbs sugar
5ml / 1tsp vanilla paste
15ml / 1Tbs instant coffee (2 packs Starbuck's Via)
60ml / 2oz dark or spiced rum
Method:
- put half of the milk in a pot with the cinnamon and cloves and gently bring up the heat
- when the milk is just below a simmer, hold it there for 5 minutes, then turn off the heat
- cover it and let it infuse for about 30 minutes
- bring it back up to a gentle simmer, then whisk in the coffee and sugar and let it brew 5 minutes
- cool completely, then strain
- whisk in the vanilla paste
- add the rest of the milk and the rum
- serve chilled and garnished with frothed milk and nutmeg
 |
| Cola de mono |
Saturday, November 24, 2012
Update: Rompope
 |
| rompope topped off with egg nog espuma |
A few weeks ago I made the Rompope. The recommendation was to let it age three weeks in the fridge, so I did. After looking at it every day, it was finally ripe to try it out. It was pretty tasty when it was first made, but the time has let all the flavours come together and smooth out. It is a liqueur, so it's still pretty boozy, but very smooth and perfect for holiday sipping. Carla even commented that now we don't need to bring bottles back from Mexico anymore since we can do such a good job ourselves. Next will come flavour variations.
I did have some egg nog espuma handy, so I had to try the cocktail idea I had mentioned in that recipe - dynamite! Egg nog and rompope are such close cousins, that it's almost a misnomer to say they complement each other. Visually, there's a clear division of the thick and rich rompope and the fluffy bubbles of the espuma. As for the taste, you get the light and airy egg nog first, then get down to the main event at the bottom of the glass. Garnished with a little grated nutmeg, it's a perfect holiday drink.
Friday, November 23, 2012
Recipe: Rum and egg nog espuma (foam)
 |
| a very light egg nog |
 |
| soak the gelatin |
You will need:
750ml / 3C egg nog
80ml / 1/3C dark or spiced rum
3 sheets gelatin
 |
| melt the gelatin with rum |
Method:
- soak the gelatin, then drain
- gently warm up the egg nog in the microwave (just so the gelatin doesn't seize)
- heat the rum up in the microwave to fairly hot
- melt the gelatin into the rum
- mix the rum and the egg nog
- load into the iSi gun
- screw the top on and give it two NO2 charges, shaking well after each one
- chill completely - at least a few hours or even overnight
 |
| mix with egg nog |
 |
| egg nog cappuccino! |
 |
| charge and chill |
Tuesday, November 6, 2012
Recipe: Rompope (egg nog liqueur)
Rompope is a delicious egg nog like liqueur you can find all over Mexico and a few other Latin American countries. Official history has that the Spanish brought it over in the colonial days and it was often produced in convents, particularly in the area around Puebla. Mexicans have since ran with the idea and while some convents still produce it, a lot of people choose to make it at home. Not too long ago, Carla and I were in Cholula (in the province of Puebla) and visited a distributor for Santa Ines Rompope. The variety of flavours available was amazing, from vanilla to peacan, and even berries and other fruits. Duty-free restrictions limited what we could bring back, but we made sure to diligently sample them all.
I came across a recipe a while back and got around to making it this week. Since it needs a few weeks to ripen, it will be ready for the Christmas season. Honestly, it is pretty tasty already, so I think if you needed it in a hurry, a couple days would be ok, but I'll hold out and give it its due time just to see the full potential. I still love my egg nog, but after a big meal, a few sips of rompope will be pretty satisfying without the heaviness. This recipe makes just under a litre (quart), so it's a good size to start with.
 |
| huevos! |
You will need:
250ml / 1C sugar
125ml / 1/2C water
4 egg yolks
177ml / 6fl oz evaporated milk
207ml / 7fl oz condensed milk
10ml / 2tsp vanilla paste
187ml / 3/4C white rum
 |
| add the milks rum and vanilla |
Method:
- put the sugar and water in a pot and bring to a simmer to dissolve the sugar - set aside to cool
- separate the egg yolks and give them a light whisk
- add the evaporated and condensed milks and whisk
- add the vanilla and rum
- slowly pour the syrup into the mix while whisking
- strain the mix to take out any of the egg solids
- pour into a mason jar or bottle and store in the fridge
- let ripen about 3 weeks
 |
| whisk in the syrup |
- start sippin' chilled and garnished with a little grated cinnamon or nutmeg
 |
| now we wait |
Wednesday, October 31, 2012
Product review: Cona vacuum coffee percolator
Ok, that's great, I love a good cup of coffee, but as a cook that likes to see things with added culinary value, there's another intriguing aspect to this coffee maker - soup! Coffee aside, flavours in general infuse best within a tight range of temperature. A good chef will always tell you that almost never should you see something boiling on the stove - things like pasta water, and blanching water are acceptable instances. Listen to someone who is a master of Tea, temperature and time are huge factors in the execution of a quality product.
Now imagine sitting down to a dinner, and the soup course comes out in a strange contraption with broth in the bottom chamber and some fresh herbs and aromatics arranged around some delicate cuts of seafood in the top. You then watch as the broth heats up and enters the top chamber, cooks the fish and absorbs the aromatic flavours, then makes its way back to the bottom. Your server then pours the soup into your bowl and garnishes it with the seafood from the top. Hell of a show no? Vue de Monde in Melbourne Australia made headlines with a bouillabase this way. They've since moved on to other soup infusions, but the system remains. I love seeing creative thinking like this. The soup is wonderfully executed and you manage to add a whole different level of experience to the meal. Well done!
Interesting no? Whether in pursuit of a perfect cup of coffee, or brewing a beautiful soup, if your luxury budget allows, consider adding a Cona system to your arsenal. CHECK IT OUT HERE.
Monday, August 13, 2012
Recipe: Avocado shake
If you haven't had one before, an avocado shake seems a bit odd, but once you've had one, you know it's exceptionally refreshing on a hot day. When I was first introduced to it, it was through a friend who grew up in Vietnam, and we put the ingredients over crushed ice and mixed it with a spoon. If you throw everything in a blender, you get the milkshake consistency and it's easier to make a bigger batch and serve more people. The proportions are very much to taste - if you really like avocados, you may want one for each pint-sized serving, and the condensed milk depends on your sweet tooth. Using ripe avocados is crucial however, unripe ones just don't have the flavour and don't mix so smooth. This recipe uses one avocado and should serve two - you can customize it from there. I like a squeeze of lemon or lime juice as additional seasoning, but try the original formula the first time. A tiny pinch of salt helps the flavour come out too. A little more adventurous (and Latin-American) would be to garnish with some crushed chilis - "Tajin" seasoning is perfect.
You will need:
1 ripe avocado
250ml / 1C crushed ice (6-8 cubes)
to taste sweetened condensed milk (60-80ml / 1/4 -1/3C)
to taste milk (60ml / 1/4C or more)
tiny pinch kosher salt (optional)
squeeze lemon or lime juice (about 5ml / 1tsp) (optional)
Method:
- for the crushed ice style, divide all the ingredients between two glasses and mash them all together with a long spoon until the avocado has gone smooth
- in a blender, add all ingredients, blend, and divide between two glasses
Friday, August 10, 2012
Recipe: Horchata
 |
| bring to a simmer and steep |
You will need:
 |
| blend |
250ml / 1C long grain white rice
250ml / 1C peeled almonds
1250ml / 5C water (to start)
1 cinnamon stick
30ml / 2Tbs vanilla paste (2 beans)
1000ml / 4C water (to finish)
750ml / 3C milk
300ml / 10oz sweetened condensed milk
Method:
- wash the rice under cold water
- put the rice with the almonds and cinnamon in the 5C of water and bring to a simmer
- turn off the heat and allow to cool completely
- pull out the cinnamon and use the other 4C of water to blend the rice and almonds fine
- add the 2Tbs of vanilla, milk and condensed milk and whisk together
- serve chilled or over ice


Wednesday, July 25, 2012
Recipe: Fruit atole (blueberry)
 |
| cook the fruit |
 |
| add the slurry |
You will need:
400g / 14oz (2C) blueberries (or other fruit)
875ml / 3 1/2C water
150g / 5.3oz (3/4C) sugar
60ml / 4Tbs cornstarch
500ml / 2C milk
1 vanilla bean (1Tbs vanilla puree)
 |
| cook out the cornstarch |
Method:
- wash the blueberries and remove any stem bits
- blend the blueberries with 250ml (1C) water
- put in a pot, bring it to a simmer for 5 minutes
- make a surry with the cornstarch and 125ml (1/2C) water
- add to the blueberries and simmer another 10 minutes
- add another 500ml (2C) water, the sugar, vanilla and the milk
- bring back to a simmer
- turn off the heat (or keep low) and serve warm

Thursday, July 12, 2012
Recipe: Passionfruit, chocolate and icewine consomme
This consomme makes a wonderful, delicious and refreshing addition to a dessert. As with everything, sourcing out quality ingredients makes a big difference. Cocoa powder can be a bit tricky, but if you can get your hands on a premium brand, do it as they are very chocolatey and less bitter (Valrhona or Cafe Tasse are very nice). When I used this one, I wanted to play off the classic savory consomme (which often had a substantial gelatin content), so I added some gelatin to the clarified soup and spooned the soft jelly randomly around the plate. It's a nice effect, but you can also just leave it as a liquid consomme - it makes an amazing dessert cocktail that way.
For those who have read the strawberry consomme recipe, yes you can use the gelatin clarification technique here, but I thought we'd tackle the traditional technique with this one. You will still need to apply heat to help the cocoa powder to disperse into the juice. Also, don't count on any of the gelatin from the clarification to stay in the consomme - you will still need to use more to set the consomme for serving.
You will need:
500ml / 2C passion fruit juice
60g / 2.1oz cocoa powder
2 egg whites
89ml / 3fl oz icewine
2 - 3 sheets gelatin (optional)
Method:
- dissolve the cocoa powder into the juice over low heat, then cool
- whisk up the egg whites, then whisk into the mixture
- slowly bring up to a gentle simmer as a "raft" forms
- when the liquid showing through the raft is clear, turn off the heat
- carefully ladle from the pot and strain through a coffee filter
- mix in the icewine
- if adding gelatin, calculate 3 sheets to set 500ml (2C), and soak it
- warm up the soup
- drain and melt in the gelatin
- allow to set
- serve
Sunday, May 20, 2012
Recipe: Maple lemonade
 This recipe comes from the Master Cleanse lemonade diet. It's not my place to tell you to do it, but I've actually done it twice, which is extremely difficult to do when you cook for a living. The cleanse changed my life in a very unexpected way - it's when I switched to "C" grade maple syrup (#3) and never turned back. The lemonade portion of the diet is not only delicious, it's nutritious (for the duration of the diet, the lemonade provides you with all your essential vitamins). I've made the lemonade off and on ever since just as a refreshing summer drink with the added benefit that it also serves as a multivitamin. Your kids will never know what hit them.
The recipe following is for one person's daily intake as per the diet, but if you aren't doing it, it's for a two litre jug of tasty lemonade. Of course, if you are just making it as a summer drink, you may want to omit the cayenne and feel free to adjust the amounts to your taste - at least you aren't cooling off with store bought yellow sugar water. As well, living in Vancouver, I proudly drink our Capilano fresh tap water - if your tap water is good, use it and save a plastic bottle. Careful not to spill any of your Meyer Limoncello in there, that would be a downright shame.
You will need:
60oz / 1.77L bottled / filtered water (or mountain fresh)
12Tbs (6.09oz) / 180ml grade "B" or "C" (#2 or #3) organic maple syrup
12Tbs (6.09oz) / 180ml fresh squeezed organic lemon juice
1/2tsp / 2.5ml cayenne pepper
Method:
- if you are cleansing, or just like it, microplane some of the lemon rind to add in as extra fibre
- juice the lemons, remove the seeds, but keep the pulp
- add the maple syrup, cayenne and water and mix well
- keep it away from the limoncello
- start sippin'
Friday, May 18, 2012
Recipe: Peach honey soda
Going the natural route, you can thicken a base by starting with a puree rather than a juice and sweeten the soda with honey, maple syrup, or invert sugar. More involved would be to use gelatin, xanthan gum, or another thickening agent. Remember that however you go, the base needs to be able to pass through the siphon, so be careful not to go too thick, and always pass the base through a fine mesh sieve to make sure it's smooth. Xanthan gum is easy - using a blender, just add a little at a time and monitor the thickness. If you are using gelatin, I would recommend 1 sheet (or less) per 500ml, some chefs use 2 or more, but you are definitely using a spoon to eat it at that point.
For this recipe, we'll keep it fairly simple and just use the puree and honey to thicken the base and you should get a soda that foams up well out of the siphon, then settles down a drinkable liquid. If you want thinner, run the peaches through a juicer, then sweeten with honey. If you want thicker, try one of the other ways, gelatin probably being the most accessible. A standard soda siphon holds about a litre (quart), but I generally avoid filling it right up (I often use 2 charges for maximum carbonation, but it's not necessary). If you expect a lot of guests, you may want to source out another siphon or two since you get the best results if the mix is carbonated for a few hours, but in a pinch, as long as your base is kept very cold, you can refill, recharge and keep serving.
You will need:
1 ripe peach (a good size)
15ml / 1Tbs honey (or more if you like)
as needed water
soda siphon
1 (or more) CO2 charges
Method:
- peel, pit and chop the peach up
- set the chopped peach in a saucepan with a little water and cook till soft enough to puree
- add the honey till you like the flavour balance
- transfer to a blender and puree smooth
- add water while running until your mix is about as thick as coffee cream (hopefully just shy of a litre)
- if you were using gelatin, you would melt it in here
- strain the mix through a fine strainer and chill completely
- fill the siphon with the soda and screw the cap on tight
- load the CO2 into the siphon and shake well
- refrigerate at least a few hours before serving
- enjoy
Thursday, April 19, 2012
Recipe: Strawberry consomme - gelatin clarification
The real topic here is actually the gelatin clarification process, but it in itself is not very appetizing. Strawberries however, are very much so, and are a perfect example of a situation you would want to use this technique. Sure you could clarify a strawberry soup using egg whites, but your consomme would taste more cooked as it simmered away on the stove, and it's a pain straining a consomme anyway. Using the gelatin clarification process uses minimal heat, and therefore lends itself splendidly to fruit soups - and it's really easy. Conversely, if you have a nice savory broth, there's no reason not to use this technique with it as well since it is probably already right where you want it flavour-wise already.
If it's not quite strawberry season, you may want to cheat a bit, put it on the stove and work a little sugar and love into the flavour before pureeing, but if the berries are prime, you can start from fresh, either as a puree or run through a juicer. The clarification process will take out the solid matter, so remember that and don't be surprised when the resulting consomme is significantly reduced in volume from what you started with - if you use a puree, you may want to add some water to give you volume without watering it down (your soup should be delicious before clarification). I'm going to pick up the process with the ready to work puree / juice / stock as it's the following steps which are more important.
As an additional note, strawberry consomme is a great starting point for a dessert cocktail.
You will need:
strawberry puree / juice / stock
gelatin - sheet or powder
cheesecloth
a scale
room in the freezer
Method:
- weigh your puree / juice / stock
- calculate 0.5% as your measure for gelatin - eg. 1kg stock will need 5g
- bloom your gelatin
- heat the stock just enough to melt the gelatin
- dissolve the gelatin in the stock
- set in a container you can either: a) invert onto a straining apparatus lined with cheesecloth
b) turn a frozen block out to cut up (carefully) on the counter
- once the gelatin is set, place in the freezer and freeze solid
- line your straining apparatus with cheesecloth, and place the frozen consomme inside
- transfer to the fridge and let the stock slowly thaw through the cloth into the catch basin
- the resulting liquid should be beautifully clear and ready to use
Wednesday, March 21, 2012
Recipe: Meyer limoncello
 |
| Hey! Lemon head! |
Considering my previous successes at mixing fruits and vodka, when I stumbled upon a recipe for limoncello, I knew I could do it, maybe even make it better. I have to admit I hadn't considered making it before as I thought the legendary limoncello would be some old, guarded Italian secret with an ultra technical distillation process (I'm sure there are at least some family recipes handed down through the generations), but for the most part, it's an infusion where the quality rests on the maker's proportions. Since this was my first go, and I'm not even Italian, it would be selfish to keep my recipe a secret. I did modify the original (sorry, I've forgotten where I came across it), so I can call it my own, but it came out great, and I'd like to share it. I always like to look at a recipe and try to figure out how each element can be made better, so the final product is as good as it possibly can be. It seemed to me, the ultimate lemons are Meyer lemons, so I had to wait until they were in season before I started, then I used more than the recipe asked for to make sure it was lemony enough. As with my other liqueurs, Canadian laws restrict me to using vodka, so the best I could do was to get a premium - I went with the Crystal Head again, it's Canadian (Dan Ackroyd's), has the coolest bottles, and is filtered through diamonds - premium stuff.
You will need:
750 ml vodka, everclear, something with "no taste"
10 Meyer lemons
to taste sugar syrup
Method:
- pour the alcohol into a large mason jar
- use a vegetable peeler to zest all ten lemons, then cut the segments from 5 of them - add into the jar
- give it a good shake and store in a cool dark place
- repeat the shake every day or so for about two months - if the peels are all "dry" and shrivelled up, they won't be giving any more oils
- strain through a fine seive or cheesecloth - even a coffee filter
- season to taste with the sugar syrup
- fill your bottle back up
- start mixing
Friday, March 16, 2012
Recipe: "The Beast" blackberry liqueur
 |
| scary stuff |
"The Beast" was an inspiration from making the "44" orange liqueur. It was fun to daily reach into the dark cupboard, shake up the mason jar, and scratch another day off the calendar until it was ready. In Canada, grain alcohol for the purpose of making drinks isn't readily available, so I had used Crystal Head Vodka, which conveniently comes in cool skull bottles - of which I now had a cool orange coloured one. It was mid-August when I first got the idea. Blackberry season. Blackberries happen to be about the only food I love that I never buy - I wait until the season arrives, then go to my local parks and scoop up as many as I can for free. So looking at my orange skull, thinking blackerries, and I realized that halloween was just around the corner - the recipe should be something more sinister. I checked the calendar and saw I had enough time to infuse the vodka for 66 days - the number of the beast! The recipe for "44" was all fours - the "Beast" would be all sixes. Superbadass. Yes, I know it's actually springtime and blackberries are a few months away if you want the free ones (in our area anyway), but summer drinks are around the corner, and who wouldn't want a blackberry martini at your barbeque? Remember, it does takes two months to make.
You will need:
666 ml vodka (or grain alcohol)
66 blackberries
66 coffee beans (dark roast)
66 days
1 dark cold cupboard
possibly a little sugar syrup at the end (sugar won't dissolve as well)
Method:
- combine the blackberries, coffee beans and alcohol in a mason jar - seal it and give it a good shake
- store it in a cold, dark cupboard
- every day for 66 days, take it out, shake it up, and put it back
- after 66 days, strain it out, tweak the flavour with sugar syrup (if you wish) and fill your bottle
- pick out the coffee beans and do something boozy with the blackberries
- start mixin'
Subscribe to:
Posts (Atom)