Showing posts with label egg dishes. Show all posts

Sunday, June 2, 2013

Recipe: Souffle frittata

saute the garnish
Technically this is a souffle omelette, but honestly the eggs fluff up so much in the cooking that most attempts to fold the omelette don't work out too well (never mind rolling it).  That said, it makes a beautiful light and fluffy frittata.  It also happens to be a good way to stretch a few eggs a long way among more guests as the eggs already have volume by the time they hit the pan.  The trick here is to quickly yet gently mix the egg with the garnish, then leave it to avoid deflating the egg whites.  From there it is temperature control as flipping it can be a bit tricky - start fairly high heat, then turn it down.  If you have a broiler to brown the top a bit even better.


You will need:

4                         eggs
whisk the yolks
as needed           garnish - we used onion, peppers and spicy sausage here
as needed           cheese
to taste               kosher salt
to taste               black pepper


Method:

 - separate the eggs
 - start sauteing your garnish 
 - whisk the yolk with salt and pepper until pale
 - whisk the whites to a medium firm peak
 - fold the whites into the yolks
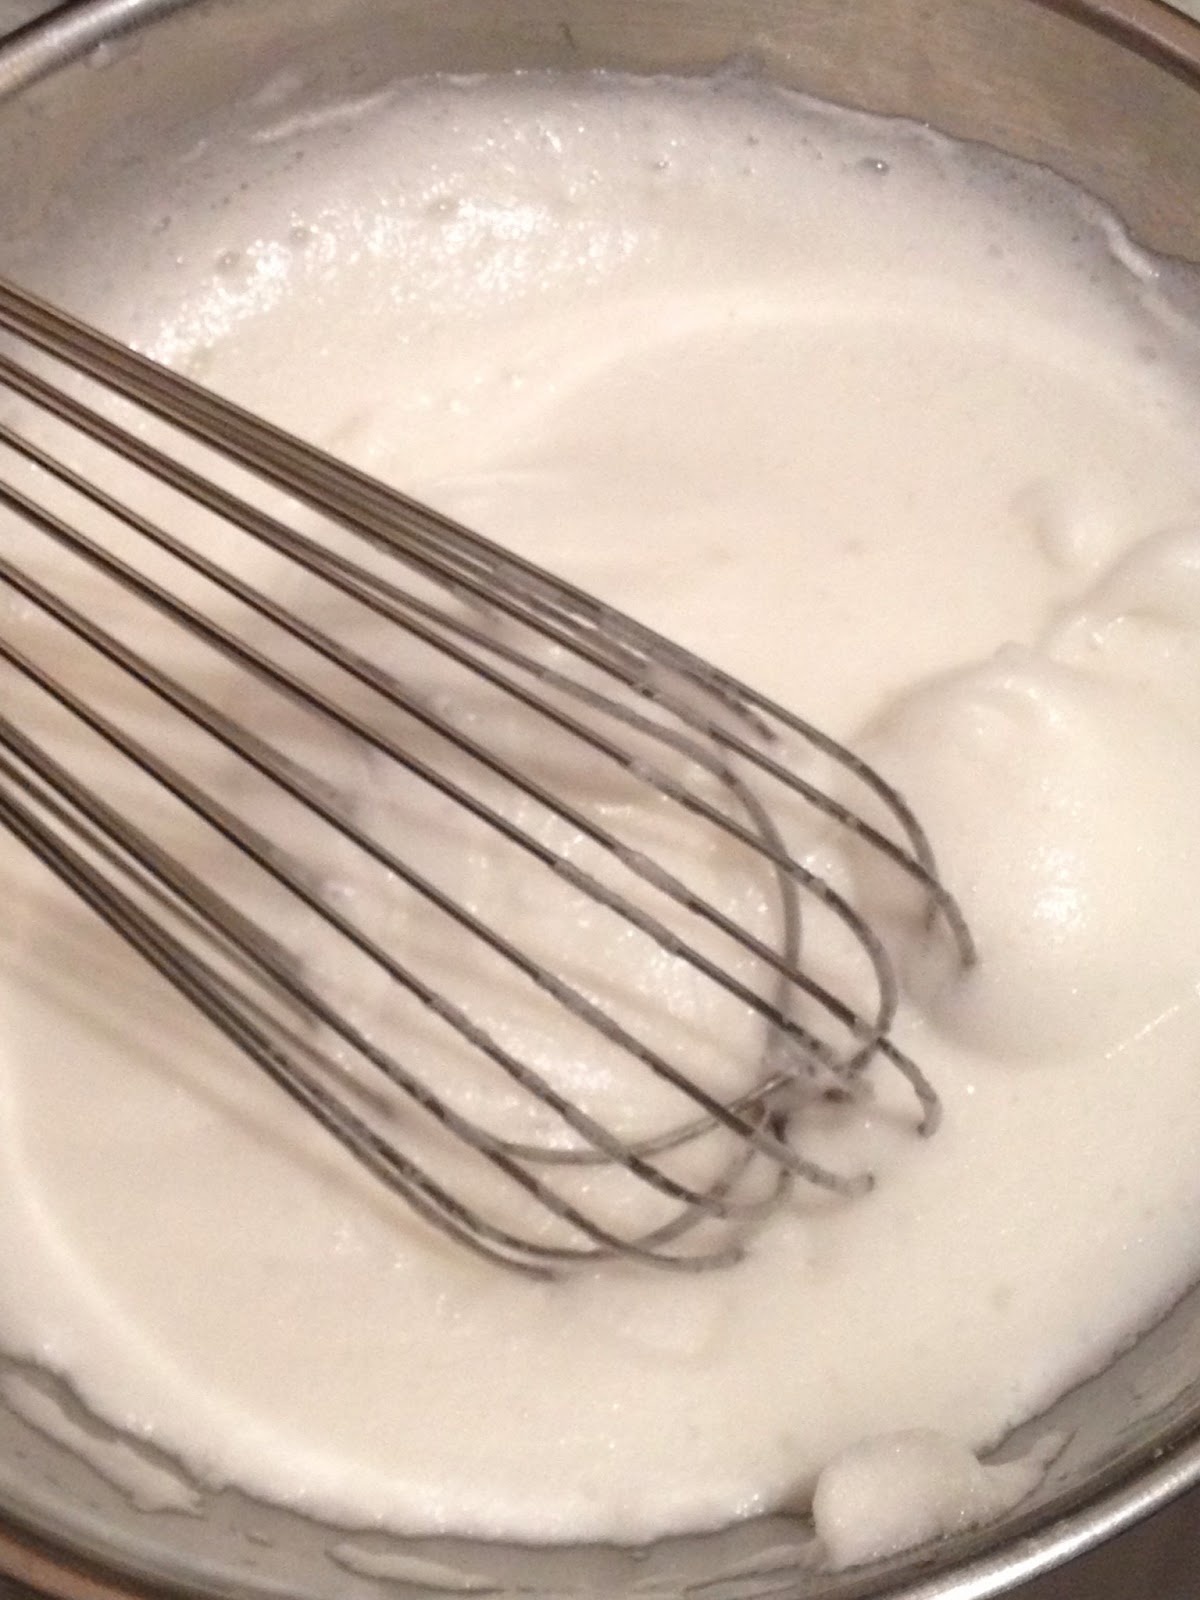
whisk the whites
 - add the eggs to the pan, stir to mix evenly then leave it
 - turn the heat to medium low and cover with a lid
 - grate the cheese, add to the top, and cover again to melt
 - once the frittata is mostly set, toast a bit under the broiler to brown the cheese
 - cut wedges and serve


fold together
add to the pan and top with cheese


Tuesday, July 31, 2012

Recipe: Blood orange custard / creme brulee

This is a nice change from the usual custard as half the normal amount of cream is replaced with juice.  While it remains creamy, the citrus element makes it refreshing too.  It may seem like a lot of egg yolk compared to most recipes, but it is needed as the earlier versions of the recipe had a hard time holding together due to the high juice ratio.  I used this once as a layer in a cake by cooking it on a silicone mat, freezing it, then adding it to the cake as a frozen sheet - sounds a bit complicated, but it was the easiest means to an end, and was worth the effort.  Certainly if you are cooking individual portions, you can brulee with sugar at service time.

You will need:

500ml / 2C         cream
500ml / 2C         blood orange juice
16                       egg yolks
150g / 5.3oz       sugar


Method:

 - set the oven to 275F / 135C
 - juice the oranges and strain out the pulp
 - put the cream and half the sugar into a pot and bring to a simmer
 - whisk the yolks with the rest of the sugar, then whisk in the juice
 - temper the hot cream into the yolk mix
 - strain through a fine mesh sieve
 - fill your custard dishes
 - place the dishes in a bain marie and cook for an hour at 275F / 135C
 - give the dishes the "jiggle test", and if they are firm, remove from the oven and cool, otherwise let them go a bit longer til they are done
 - let cool completely, then serve - if brulee, dust with sugar and torch

Sunday, July 15, 2012

Recipe: Bone marrow custard

This custard dish plays to those who love bone marrow.  If you've been caught slurping the centre from a shank bone, I'm talking to you.  A classic way to enjoy marrow is to simply roast it and spread it on toast - I kept the egg ratio on the low side in this recipe so the custard would stay soft enough to dip toast points in it if you choose.  If you want to go a step further, I originally served this with a red wine biscotti (that recipe is soon to follow).  If you don't mind a little sugar, brulee the tops of these custards - the caramel goes nice and the texture complements the creamy goodies inside.  As it is quite rich, this recipe is calculated for small, ramekin sized portions - larger portions will need more cooking time and you may want to double the recipe (this one will yield a bit shy of 750ml (3C) of custard)

You will need:

1                       marrow bone (split)
500ml / 2C       cream
2                       egg yolks
15ml / 1Tbs      sugar
2.5ml / 1/2tsp   roast garlic puree
5ml / 1tsp         roast shallot puree
to taste              kosher salt
to taste              white pepper

Method:

 - set the oven to 400F / 204C
 - shape some tinfoil to catch the fat, place the marrow bone halves inside and roast for 20 minutes
 - strain the fat and save for something else (caramelized onions - yum!)
 - re-set the oven to 250F / 121C
 - remove the marrow and pass through a tamis or fine mesh sieve
 - whisk the marrow, yolks and sugar together
 - steep the cream with the garlic and shallot purees
 - temper into the yolks and marrow
 - season with salt and pepper
 - pass through a fine mesh sieve
 - fill ramekins (or cups)
 - set in a bain marie and cook 40 minutes at 250F / 121C (longer for larger portions)
 - as the egg ratio is low, the "jiggle test" may be less effective, but the custards will still be firm when cooked
 - cool completely
 - serve

Friday, July 6, 2012

Recipe: The 64 degree egg

Feeling pretty good about your poaching skills?  Ready for the next level?  The 64 degree egg utilizes a circulator to poach an egg in its shell with the result having a tenderness you may not have thought possible.  The name comes from the fact that egg whites cook at 63C while the yolks cook at 65C.  

Cooking an egg at 64C theoretically gives you a properly cooked egg white and a creamy yolk - in reality however, since the yolk is approaching cooking temperature, it usually winds up firmer than most people like.  Shortening the cooking time does soften the yolk, but then the whites are very soft, bordering on unstable and unsuitable for presentation.  The 64 degree egg is still a good product, but most places using it on a menu will actually have found a different temperature and time combination that works for them.

I've come across two combinations that work well, so you can try them and pick the one you like.  In either case, you will want to cover the eggs in a towel while in the circulator basin to keep them from bouncing around and breaking in the circulator's current.  You will then need to ice them down completely to stop the cooking.  A common temperature for restaurants to keep a circulator at during service is 52C - this works perfectly to warm the eggs up again without cooking them further.  then when serving, just crack the egg as normal and watch a beautifully poached egg come out.

The first combination is to cook the eggs at 62.5C for 75 minutes.  The yolk will be creamy and the whites will be tender.  If you find the whites a bit too tender for your taste, you can either give them a quick dunk in simmering water to firm up the outer edge of the whites, or try the next combination.

The second combination is to cook the eggs at 64.5C for 30 minutes.  The shorter cooking time is definitely more convenient and is short enough to keep from cooking the yolks too much.  The higher temperature will give you a firmer exterior on the whites while still maintaining the tenderness we are after.  Of course, at the higher temperature, timing becomes more crucial to stop the cooking while the yolks are creamy - definitely use a digital timer.

Thursday, July 5, 2012

Recipe: Poached eggs - vinegar drop method

 
crack the egg into the vinegar


This is not so much a recipe than a different approach to poaching eggs, but it has some distinct advantages.  To run through the basics (just because), regular poached eggs are dropped into simmering salted water with vinegar added, and scooped out when they have cooked to your liking.  Classically, you use the edge of the slotted spoon to trim the trailing white as you remove the egg from the pot.  It's the vinegar that keeps the egg white from spilling everywhere in the pot, and it's that knowledge that makes this technique better.  

drop into the water
Rather than adding vinegar to the water, you crack the egg into a small bowl with vinegar in it, swirl it around, then drop it into the water.  The effect is that by cracking the egg into vinegar, you seal the egg better and it actually cooks almost in it's natural shape.  There's also next to no need to trim any white away after cooking.  This technique is especially good for quail eggs, which are a bit of a pain to crack into water one at a time, then try to keep track which one went in first.  you can actually crack a few eggs into the same dish with vinegar, then drop them in one by one and get fantastic results.  

poach
As with regular poaching, you want to season the water and avoid boiling it.  Also, if you are getting ready to serve a lot of people, you can cook the eggs very soft and transfer to ice water, then heat the whole lot up again when you need them by dunking in hot water or even steaming.  If you are poaching a lot of eggs, taste the water once in a while to make sure it doesn't get too acidic - you may need to change it.  Play around with different vinegars too - malt vinegar when cooking an English breakfast can be nice.  Rice vinegar will have a milder effect - if you are careful, mirin can work too.  One of my favorites is using white balsamic with eggs florentine and a tomato sauce.


Wednesday, May 30, 2012

Recipe: Flan elote (corn flan)

I tried this dish first in Mexico city - it's a favorite of my brother-in-law.  Since we had lucked upon some delicious corn, I thought I should make some.  It is normally served as a dessert, but it isn't overly sweet, so it could go along with some teacakes, be had as a snack, or even find it's way onto a savory course dish.  It can be picked up, yet it is moist and creamy - if you look closely, you can even see a thin layer of custard at the bottom as the mix settles during cooking.  It has baking powder in it and the mixing process incorporates air into the batter, so for many of you it is a departure from "traditional" flans, but it is well worth a try.  

You will need:

5 - 6                             cobs of corn (I used 6)
300ml (1 10oz can)     sweetened condensed milk
90g / 3oz                     butter (plus more for the pan)
250ml / 1C                  milk
5                                  eggs
15ml / 1Tbs                 baking powder

Method:

 - butter the bottom and sides of a good size pan (9" x 14")
 - set the oven to 325F / 163C
 - put the eggs in a mixer and whip to a  pale foam
 - strip the kernels of corn from the cobs
 - puree the corn with the milk and condensed milk in a blender
 - melt the butter and add to the blender while running 
 - add the baking powder to the running blender
 - drizzle the corn mix into the eggs with the mixer running
 - pour into the pan and place on the middle rack in the oven for about 45 minutes
 - test the middle with a skewer to come out clean
 - turn up the oven to 350F / 177C for another 5 minutes (for colour)
 - remove from oven and cool on a rack
 - if you want to turn it out, let it cool significantly, run a knife around the edge, place your platter over the pan and quickly invert 
 - serve


Tuesday, April 17, 2012

Recipe: Lemon tart filling

Now that we have our tasty tart shells, we should fill them.  How about lemon?  I'm such a fan of lemon just about anything, I once as a kid didn't want a birthday cake, I wanted lemon meringue pie.  Something about this recipe sets it apart from the rest (which I still love) - the balance of sweet to tart I think is perfect, the cream helps carry the flavour and shaves just an edge off the lemon.  I also like the fact that it's a custard rather than cornstarch based - there's no interference in the flavour or texture in the final product.

Of course you can give these tarts a meringue or leave them naked - personally, I would use an Italian meringue (hot syrup into egg whites) - it is more stable as it has been cooked during the whipping, has more of a marshmallow texture, and if you have a torch, you can play with it as a plate garnish - smear it on the plate, torch it, put the tart down - voila - mixed up lemon pie!  Another favorite option is to brulee the tart and leave the meringue right out - just don't burn the tart shell in the process.

A note on custards of all sorts - anglais, ice cream bases, creme brulee bases - if you let them rest in the fridge overnight then stir them up before using, you get a better, more consistent product - the water content has a tendency to slightly settle, so a quick stir re-emulsifies the mix, and the overnight rest before lets the flavours develop.  This recipe should do two deep dish pies or multiple tarts - I couldn't make it smaller without splitting eggs and that would alter a recipe that needs no changes.

You will need:

5                      whole eggs (large - not extra large)
10                    egg yolks
350g / 12.3oz  sugar
350g / 12.3oz  cream
250g / 8.8oz    fresh lemon juice, strained

Method:

 - crack all the eggs and yolks together and whisk up
 - measure out the sugar and whisk into the eggs
 - whisk in the cream
 - whisk in the lemon juice
 - strain to take out any of the chords of the eggs
 - wrap with the plastic right on the surface of the custard and let rest in the fridge overnight
 - set your oven from 250F-300F / 121C-149C - lower temp, longer time, better custard
 - give the mix a quick stir and fill the tart shells
 - place in the oven and cook about 20 minutes or more depending on the depth of the custard - jiggle the tray - the surface should be firm and set
 - remove from the oven and let cool before serving

Thursday, March 1, 2012

Recipe: Buttermilk crepes

The title for this entry maybe should be "citrus poppy seed buttermilk crepes", but that's a bit much.  There was also some outside inspiration from the local "Taste" magazine for those who live in British Columbia and pick it up at the liquor store.  It's a quality free publication with lots of good information on food and drink - but I digress.  I had been thinking of writing about crepes for a while, and the other day was picking up some beer, grabbed a "taste" magazine, then went across the way to meet my wife at the grocery store.  I was flipping through the magazine while we were in the checkout line and spotted a recipe for lemon poppy seed crepes.  Lemon poppy seed is one of my favorite combinations, so I ran out of the line and grabbed a lemon for the zest.  I made them the next morning using my old buttermilk crepe recipe, adding in proportional amounts the lemon zest, poppy seeds, and sugar since both recipes were almost the same size.  Then I wanted more zing than was there, but I had only bought the one lemon, so I added the zest of two oranges (and an extra tablespoon of sugar).  For filling, we happened to have a tiny bit of lemon curd on hand and some Quark cheese (which I sweetened up with a little sugar and vanilla).  The nice thing with crepes are their versatility,  fill them with anything you like, and top them with anything you like (we made a little fruit salad).  You can use the buttermilk crepe recipe minus the zest, sugar and poppy seeds, and fill them with more savory fillings - a crab salad goes fantastic.

You will need:

1 3/4C / 425ml     all purpose flour
          3                 large eggs
1/4C / 50ml          melted unsalted butter
1 1/4C / 300ml     buttermilk
1C / 250ml           milk
1/2 tsp / 2ml         salt
3Tbs / 45ml          sugar
2Tbs / 30ml          poppy seeds
          1                 lemon zest
          2                 orange zest
as needed             oil or butter for cooking

Method:

 - mix all dry ingredients, then mix in the wet (mixer or whisk) until smooth and let rest in the fridge
 - heat your pan over medium heat - an 8 inch nonstick or crepe pan works perfectly
 - add oil or butter to the pan and pour in about 1/4C / 50ml of batter
 - lift and tilt the pan so the batter flows to the edges - it should be a very thin layer
 - soon you should be able to check the underside with a thin spatula for colour
 - when it is very light brown (some like no colour at all) gently turn it over and cook the other side
 - transfer the crepe from the pan to a piece of parchment paper and repeat with the next crepe
 - stack crepes with paper between each one before filling or storing for later use - they freeze very well
 - fill with your choice of filling, and top with your choice of topping - serve

Friday, February 17, 2012

Recipe: Creme brulee

Creme brulee is a delicious dessert that can follow up almost any meal.  Comforting in the winter, or refreshing in the summer with some seasonal berries - always a treat.  the "brulee" is best done with a torch, but if your oven has a good broil setting, let it heat up well and place the brulees on the top rack, watch and rotate if needed.  This recipe should give 4-5 servings depending on your dish size and should give a nice medium firm custard.  If you like your custards firmer or creamier, just add or subtract egg yolks accordingly.  Another important factor is the cooking temperature - custards behave better when they aren't rushed - it's even better to make the mixture a day ahead and let it rest in the fridge to let the flavours develop.  This recipe should be cooked in about 30 minutes at 300F(150C), but if I'm preparing a meal and know I'll be around the kitchen for awhile, I'll even drop the temperature closer to 250F(120C) and let it take it's time - the finished product tends to come out more consistently creamy and the chance of overcooking it goes way down (always use your timer).

You will need:

500ml / 2C    heavy cream
  1                  vanilla bean (scraped)
  6                  egg yolks
80ml / 1/3C   white sugar (plus extra for burning)

Method:

 - set the oven to 300F(150C) -or less
 - start a pot with water to be a double-boiler
 - in a saucepot, mix the vanilla and the cream and bring up to a simmer
 - mix the yolks and the sugar in a bowl large enough for the double boiler
 - when the cream is up to heat, slowly pour into the egg yolks while steadily whisking
 - move the bowl to the double-boiler and stir with a spatula, always scraping the bottom
 - when the mixture coats the spatula, remove from the heat and chill down if you don't need to cook them right away
 - cover the mix with plastic right on the surface and let it rest in the fridge overnight
 - stir the custard to re-emulsify, then fill your dishes
 - place the dishes in a deep pan and make a bain-marie (use the water from the double  boiler)
 - place in the oven and cook for about 30 minutes - the tops should seem firm when jiggled
 - remove the pan from oven, then the dishes from the pan, and let cool on the counter before storing in the fridge
 - when serving, dust the tops of the custards with sugar and burn with a torch (or oven broiler)
 - for extra caramel crunch, just do a light burn, then repeat the process with a second layer of sugar