Saturday, February 16, 2013

Product review: Artistre Experimental Kit

As fun and exciting as molecular gastronomy and its applications in cooking can be, it is admittedly easier to dabble in if you happen to work in a kitchen with the necessary products on hand.  If you aren't in the industry and want to do things at home, it's not that the techniques are all that excessively difficult, it's more that tracking down the special ingredients can be tough, and often can only be bought in larger quantities than you need or want to make shelf space for.  Maybe you aren't sure which applications suit your style best, you might experiment with one or two things that are ok, then stop short of the one spectacular product that you would love because you didn't want any more "stuff" cluttering the kitchen.  Artistre has simplified the process for you.

This kit exposes you to a great variety of products - some used together, some on their own, but all with fun and interesting effects.  The amounts of each product are smaller, to cut down the clutter, but large enough to try each product a few times.  By the time you use up one thing, you will know if you like it and can choose to purchase a larger quantity of that one on its own.  Some experimental kits give you way too little of each product, and you would use it up in one or two applications - not much room to test if you like it if one of those attempts doesn't work out.

For reference, the Artistre set give you - for powders: Tapioca Malto-Dextrin; for spherification: Sodium Citrate, Calcium Chloride, Calcium Lactate Gluconate, Sodium Alginate and Calcium Lactate; for thickening: Xanthan Gum; for emulsification:  Soy Lecithin and Glycerin Flakes; for gelification: Agar Agar, Methocel F50 and Kappa Carrageenan.  Take my word for it, this is a pretty great selection which will allow you to try a lot of different things.  CHECK IT OUT HERE.

Thursday, February 14, 2013

Cooking rice noodles

soak in cold water
Maybe you're preparing these noodles for pho, or maybe for something like a pad Thai, if you are from a European background there is a tendency to overthink the process.  It's understandable, often rice noodles don't come with instructions, or if they do, they aren't in English.  Bear with us those of you who do it second nature, isn't it more important that we get it right once and for all?

The most common mistake is to cook rice noodles like pasta - just don't.  It's even simpler than that.  All you need is cold water and boiling water and a basin.  If the water cools down and the noodles are still a bit firm, you probably didn't add enough boiling water, so boil some more and pour it over.

pour in boiling water
You will need:

rice noodles
a basin 
cold water
boiling water

Method:

 - take the noodles out of the pack and put in the basin
 - put the basin under the tap and run cold water over the noodles
 - let soak about 1/2 and hour until the noodles are noticeably softer
 - get some water boiling
 - drain off the cold water and pour the boiling water over the noodles
 - let the noodles cook 5 minutes or more until tender and fully cooked - add more hot water if needed
 - drain again and rinse with cold water to keep them from sticking
 - use as needed

cooked and rinsed

Tuesday, February 12, 2013

Recipe: Pho broth

the aromatics
Right now in Vancouver, Pho is rampantly popular.  Meat, noodles, and a rich broth - you can't ask for much more from a meal in a bowl.  Pho is such a homestyle dish, once you get the general hang of it, play around with it and work out your own style.  Then you'll have people knocking your door down when they hear you are making some because they know that the only place to get your pho is from your kitchen.  

For now we'll stick to the standard flavours - ginger, nutmeg, cinnamon and cloves.  To make it easy, we're going to assume you already have a decent beef stock made, and this process is just tweaking the flavour of the broth.  Once you have the finished broth, the rest is garnish - rice noodles, beef, bean sprouts, cilantro, Thai basil, green onion and a squeeze of lime.  As for the beef, the easiest way to do it is to get shaved raw beef (shabu-shabu) and drop it briefly into the hot broth to give it a little cook and add a bit of flavour to the soup.
let it brew

You will need:

4L / 4qt                          quality beef stock or broth
1                                     onion
1 medium piece             ginger
2 pieces                          nutmeg
1 stick                            cinnamon
5 pieces                          star anise
1tsp                                cloves
to taste                           fish sauce
to taste                           sriracha sauce
to taste                           hoisin sauce
to taste                           kosher salt

Method:

 - in one piece of tin foil, put the spices
 - smash the ginger into a few pieces, cut the onion into 6, and put in another piece of tin foil
 - roast both bundles in the oven
 - put the stock or broth into a pot
 - when you can smell the spices, take them from the oven and add them to the stock
 - roast the onion and ginger until the edges of the onion have coloured, then add to the stock
 - turn the stove on and bring the stock to a simmer
 - allow the broth to brew and reduce by about a litre
 - put the shaved beef in a strainer and drop into the broth just to cook slightly
 - season the broth with the fish sauce, hoisin, sriracha, and salt
 - strain the broth
 - garnish and serve, or chill and store until needed

Recipe: Parmesan stock

sweat the onion and garlic
If you really enjoy freshly grated Parmesan in your cooking, you'll eventually get to the rind.  Although it really isn't edible in any enjoyable way, there's still a lot of flavour there, and a Parmesan stock is a great way to get every last bit of enjoyment out of your cheese.  What can you use it for?  Soups like Italian Wedding, or brodo are great - even a broccoli cheese soup would benefit from a cheese-based stock.  This is perfect for a broth-style pasta dish, or you could use it in an Alfredo sauce or a cheese fondu base.  This recipe was made from the rind I had on hand from a pretty large wedge, but you can save up smaller amounts in the freezer until you have enough.  My 2 litres reduced down to just over 500ml, but it has a fantastic flavour.

You will need:

add the water, rind and aromatics
215g / 7.6oz    Parmesan rinds (or whatever you have around)
1                      medium white onion
2 cloves           garlic
1                      bay leaf
12                    black peppercorns
 2L / 2qt          cold water
6                      basil stems
12                    parsley stems            

Method:

 - sweat the onion without colour in olive oil
 - add the garlic and continue to sweat
steep the herb stems
 - add the water, Parmesan rinds, bay leaf and peppercorns and bring to a simmer
 - keep at a low simmer for 3 hours
 - turn off the heat, drop in the herb stems, cover the pot and let steep 1/2 hour
 - strain, cool down, and store in the fridge
 - remove the hard fat cap
 - use as needed

rich and cheesy

Sunday, February 10, 2013

Recipe: Tempura batter (extra crispy!)

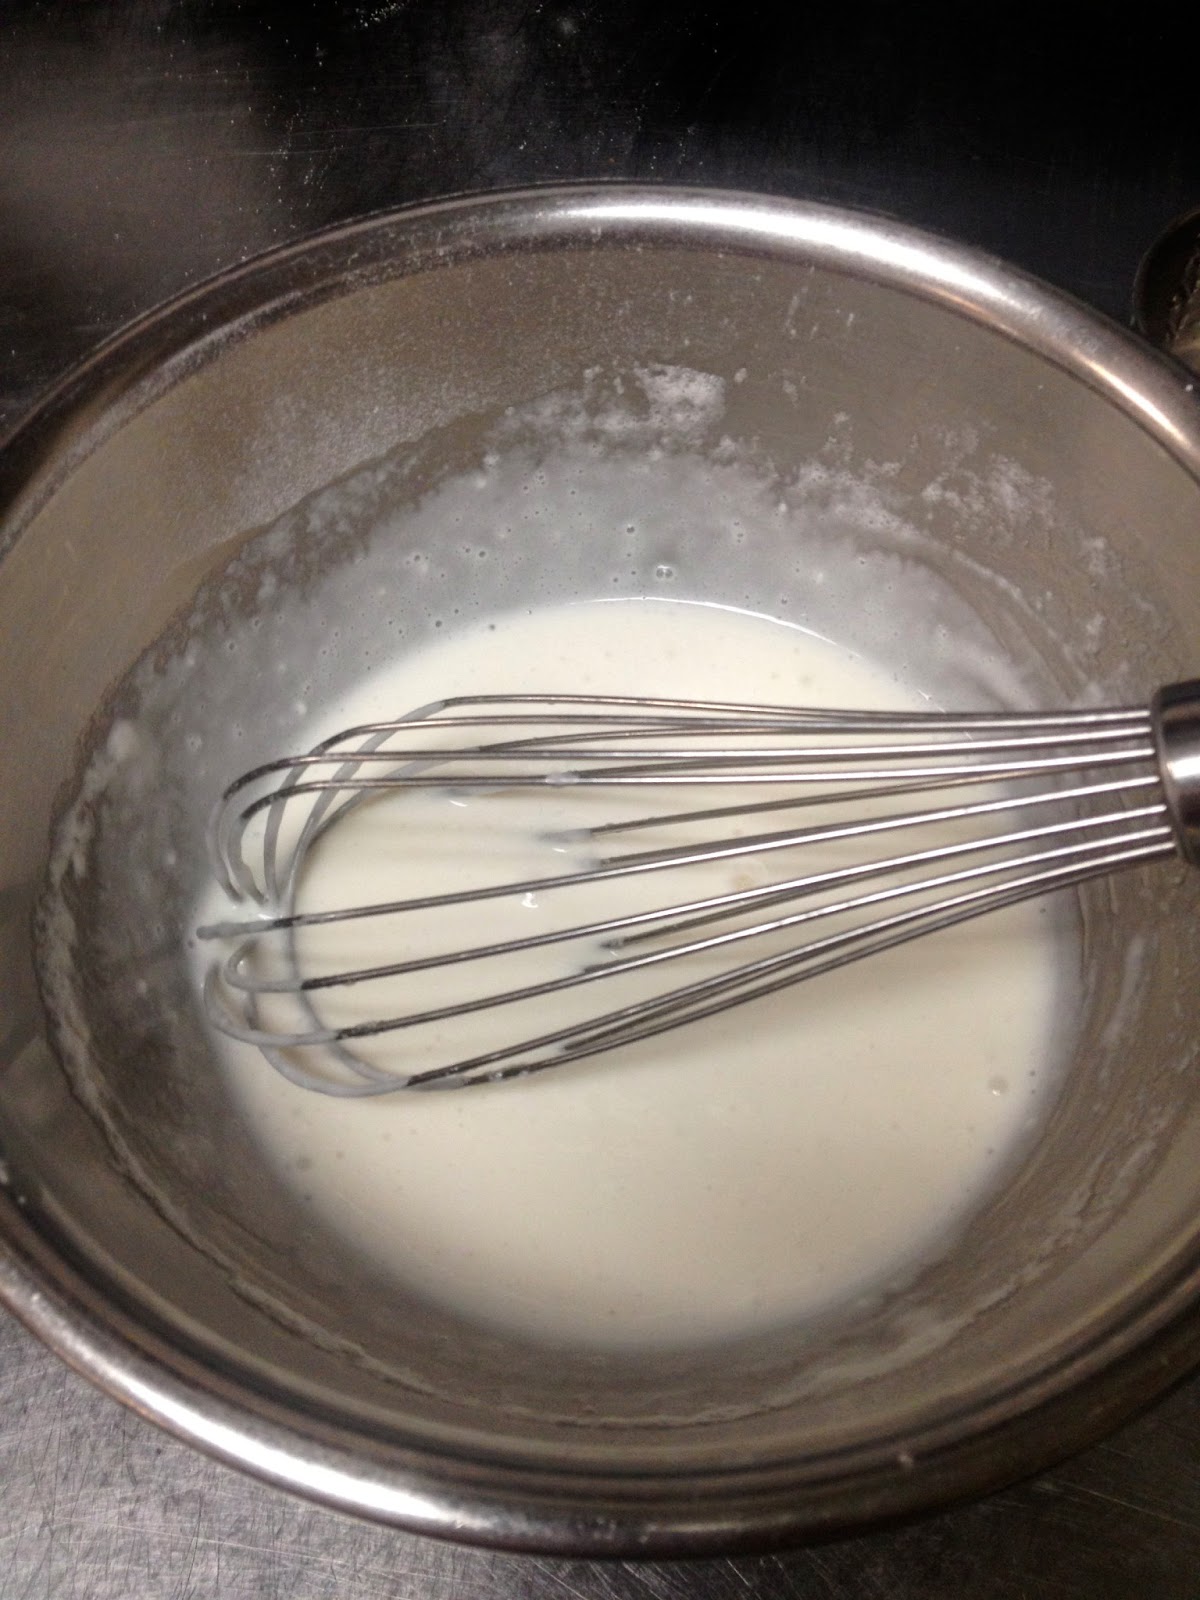
lightly whip the whites
I got thinking yesterday about that last recipe for tempura batter.  It's good no doubt, but could it be better?  Partly inspired by Heston Blumenthal's approach to advancing a recipe, I mentally broke down every element and conceived how it might work better.  When you already have a decent recipe, are you splitting hairs by making it a little bit better?  Well, better is better, and if you have all the ingredients (and equipment), this recipe is just that little bit better than the last.

First off, in my experience, for the sake of crispiness, rice flour and cornstarch produce better results than wheat flour, so this recipe uses a mix of both.  Similarily, by using egg whites instead of whole eggs, many recipes will come out crispier - after all, you don't make pavlova with whole eggs.  

mix the batter
The next bit was directly inspired by Blumenthal's fish and chips episode of "In search of Perfection" - at every stage in the process, I worked to get air into the mixture, as it is the air that will eventually give you the crispiest result.  I lightly whipped the egg whites before mixing.  Finally, I strained the mix and loaded it into an iSi gun and charged it.  Overkill?  Possibly, but as I said, if you have the ingredients and the equipment, why not go all out?

You will need:

125ml / 1/2C                rice flour
125ml / 1/2C                cornstarch (plus extra for dredging)
2                                   egg whites
strain
250ml / 1C                   soda water
pinch                            baking soda
to taste                          kosher salt

iSi gun
NO2 charges

Method:

 - sift the rice flour, cornstarch, salt and baking soda together
 - separate the egg whites and give a light whisk
 - add the egg whites to the dry mix, add a bit of the soda water and mix smooth
load the gun
 - add more soda water until you have a nice consistency (slightly thicker than cream)
 - strain the mix
 - load it into an iSi gun and charge with NO2
 - shake very well and keep very cold
 - set your fryer to 360F - 375F depending on the size of items frying
 - dredge the item in cornstarch and shake off any excess
 - blast the batter into a bowl
 - coat the item in the batter 
 - fry
 - drain on paper towel and season with salt


the fully aerated batter


tempura pork belly and Rice Krispy square


Saturday, February 9, 2013

Recipe: Tempura batter

"Can I offer you some tempura _________?"  Pretty much an easy sell to a guest.  Certainly in Vancouver, and I'm pretty confident worldwide,  tempura items have huge popularity, to the point that it's not just reserved for Japanese food anymore, it crosses over everywhere into all styles of food.  We always have some tempura batter ready to go at work, so it's not uncommon for us to be checking out a new item and someone comes out with "it's pretty tasty, but will it deep fry?" - into the batter and into the fryer it goes.  All manner of fish, poultry, vegetables, fruit (a bit trickier), pork belly, the list goes on, we've tested it.  I've even made tempura french fries just to make sure we're covering all our bases (surprisingly delicious and probably a sin).  This recipe is a nice one not only because it works, but the numbers are all in sync with each other which makes it easy to remember and multiply for larger amounts.  Some great variations simply involve adding something to the batter.  Togarashi spice will add a nice zip to the batter while black sesame seeds add not only a nice flavour, but have a great visual effect on the product.  Best to make this as close to cooking time as possible.

You will need:

1                        egg
1C / 250ml        flour
1C / 250ml        soda water
pinch                 baking soda
to taste              kosher salt
as needed          cornstarch for dredging (optional)

Method:

 - set your fryer to 360F - 375F depending on the size of the item frying
 - Sift the flour, salt and baking soda together
 - whisk the egg well
 - whisk some of the soda water into the egg
 - whisk the egg/water mix into the flour mix until smooth
 - add the soda water until you have a nice consistency (a bit thicker than cream) - you don't have to use it all
 - if desired, dredge the item with cornstarch and shake any excess off
 - dip in the batter
 - fry
 - drain on paper towel and season with salt
 

Friday, February 8, 2013

Recipe: Caramelized toast

make toast
This garnish would have been absolutely perfect on the peanut butter creme caramel - but by the time I remembered it, we had already eaten it.  Remember, we were shooting for a peanut butter and jam sandwich effect, and this would have brought in buttered toast into the mix (and caramel to boot).  It's really just about as simple as it sounds, but remains an unusual item, both delicious and interesting.  The caramel gives a welcome crunch to the surface, but the inside retains its chewy buttery toast character.  As for presentation, it lends itself best to breaking off abstract pieces, showing off the texture of the toast.  I've also used this to garnish a creamy cauliflower soup - shockingly good.


make caramel
You will need:

sliced bread - your choice (I used white sourdough)
butter
sugar


Method:

 - butter the bread
 - toast the bread on both sides - use a hot pan or griddle rather than a toaster
 - cook the sugar to an amber caramel
drop in the bread
 - drop the toast into the caramel and let the caramel soak in
 - turn the toast over and let the other side soak up the caramel
 - lay the toast on parchment paper and let the caramel set
 - break off pieces and use as desired


let it set


Wednesday, February 6, 2013

Recipe: Maple peanut butter creme caramel

buttercup
Ok, I promise this is the last creme caramel recipe (unless a really great one comes along - ha!), but it was too much of a fundamental twist not to pass it along.  It also goes to show the value of following a hunch, no matter how weird it may seem.  We were tossing ideas around about a peanut butter creme caramel at work and the idea came to me about instead of incorporating the peanut butter into the custard, to use it in the "caramel" part - I was wondering if it was possible to pull it off without actually having any caramel at all, but a peanut sauce instead.  I happened to have a little of our regular custard on hand so there was nothing to do but to do it.  I instantly went with maple syrup as a sweetener and it would also help loosen the sauce up.  The real trick as I saw it was to maintain that definite line between the custard and the "caramel", so I used the freezer.  Since peanut butter is inherently sticky, I wanted to make absolutely sure the "caramel" would release from the bottom of the cup, so I brushed it with a little butter first and stuck it in the freezer.  

maple peanut butter
Worked like a charm!  A tiny bit of butter made it's way to the top during the cooking, but a little dab with a paper towel dealt with it.  The flavour was great, instead of having a muted peanut butter flavour in the custard, having it as the sauce delivered the full power of the peanut butter in all its glory.  Of course, for plating, we went with the classic PBJ and banana combo - strawberry "jam", caramelized bananas, and a cinnamon puff pastry stick as the "toast".  Of course, now that we've managed a departure from using caramel in a creme caramel, we opened up a whole can of worms, but I'll be content sitting on this for a moment.

For this experiment, I was using the half milk half cream custard, but the all cream recipe would work just as well.  Again, this will do 10 to 12 portions depending on the size of cup.
fill with custard

You will need:

as needed              butter for the cups
as needed              smooth peanut butter
as needed              maple syrup (#3 is best)
500ml / 2C            milk
500ml / 2C            cream
8                            eggs
142g / 5oz             sugar
10ml / 2tsp            vanilla

Method:

 - brush the bottom of the cups with a thin layer of melted butter and place in the freezer to harden
 - whisk together maple syrup and peanut butter at least 50/50, but more syrup makes the sauce more fluid
 - put a generous tablespoon of the maple peanut butter in each cup, and tap it down to cover the bottom
 - freeze again
cook nice and slow
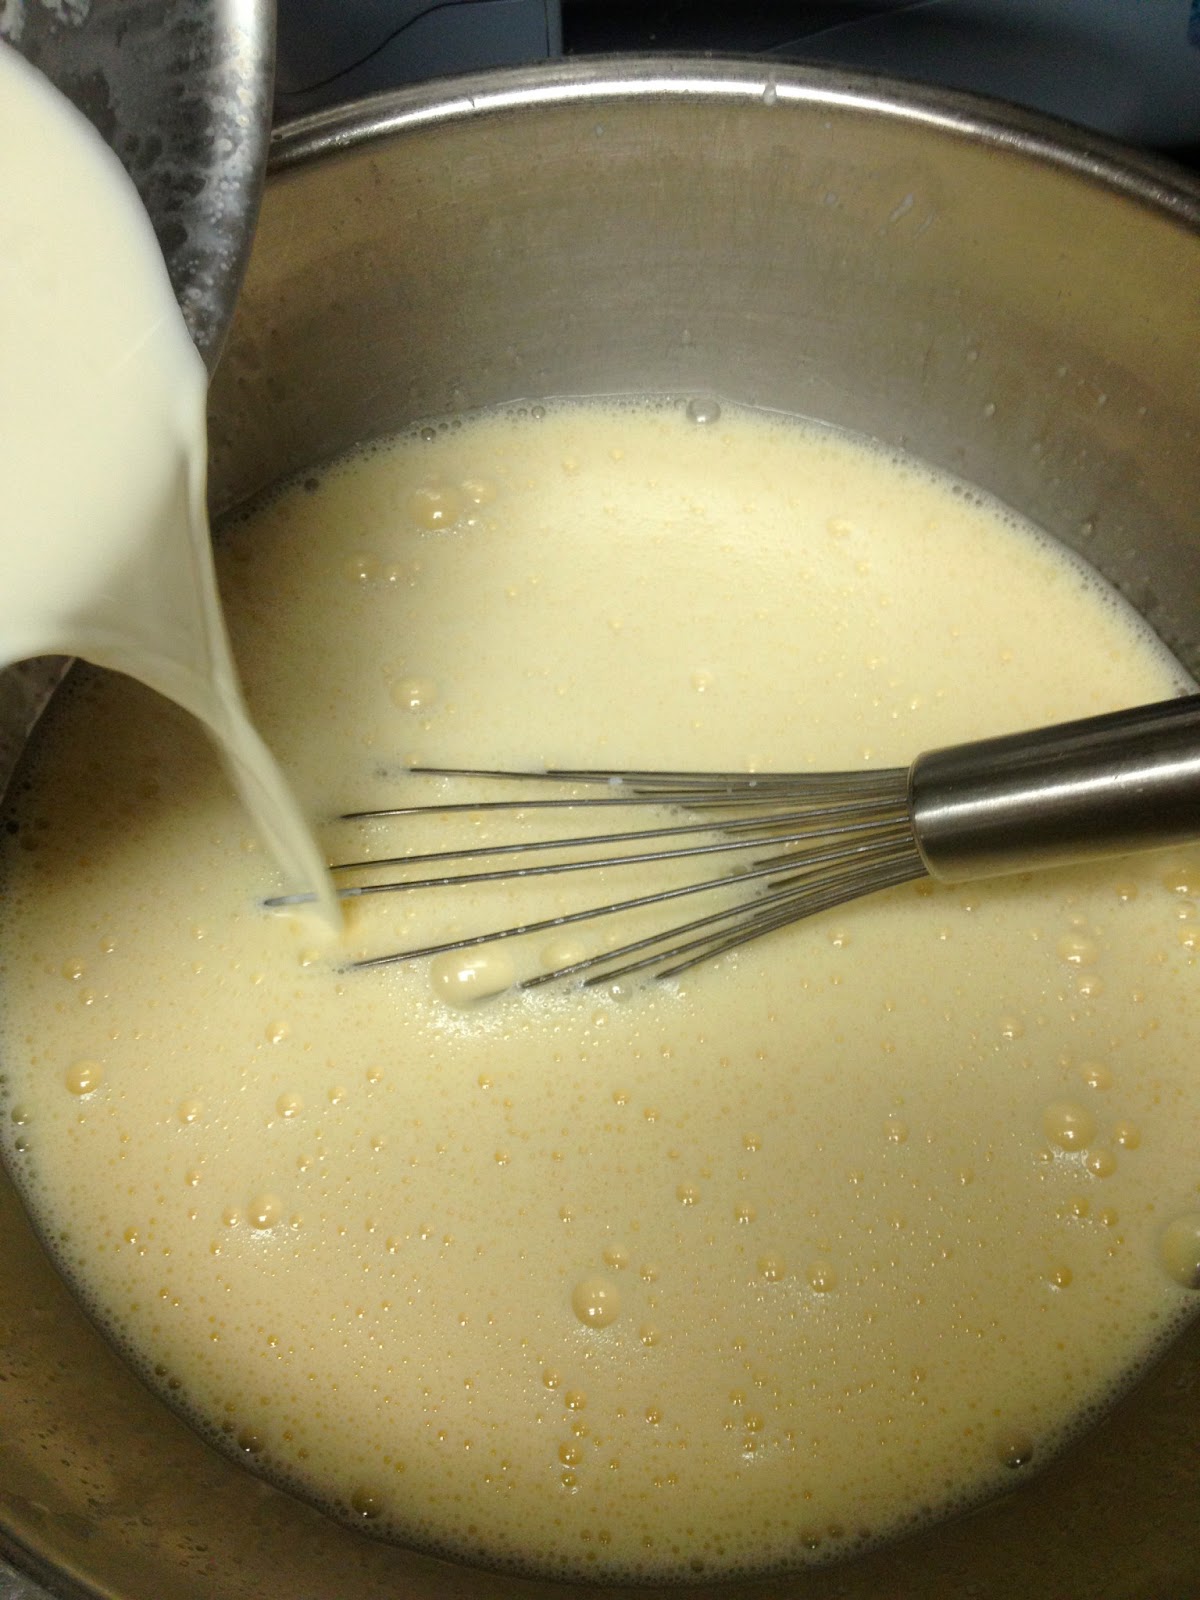
 - put the milk, cream and vanilla in a pot and bring up to a simmer
 - whisk the eggs and sugar together
 - temper the cream into the eggs
 - strain the mix
 - set the oven to 275F / 135C
 - set a pot of water on to boil
 - fill the cups with the custard
 - place the cups in a high sided pan
 - pour the water in the pan 3/4 up the sides of the cups
 - place the pan in the oven with a loose cover
 - cook for 1 3/4 hrs to 2 hrs until the custard no longer jiggles loosely
 - remove from oven and cool completely
 - dab any butter from the top surface with a towel
 - to serve, place the cups in warm water to loosen up the sauce
 - run a knife around the edge, then turn out onto a plate


peanut butter, jam, banana and toast - what's not to love?

Tuesday, February 5, 2013

Recipe: Grand Marnier creme caramel

This recipe for creme caramel is the one I used in Hong Kong.  I have a natural tendency towards the "more butter" approach to cooking, therefore it uses all cream as opposed to half milk and half cream.  We also brought in the flavour of Grand Marnier for extra decadence.  There is slightly less eggs in the mixture, so the resulting caramel is a bit softer than the one in the last post.

You will need:

1L / 1qt                        cream
6                                   eggs
128g / 4.5oz                 sugar (plus sugar for the caramel)
15ml / 1Tbs                 vanilla
60ml / 1/4C                  Grand Marnier liqueur

Method:

 - make the caramel and set it in the dishes
 - put the Grand Marnier liqueur in a saucepan, heat it and burn off the alcohol
 - put the cream and vanilla in a saucepot and bring to a simmer
 - whisk the eggs and sugar together, then whisk in the Grand Marnier
 - temper the cream into the yolk mixture
 - strain the mixture
 - set the oven to 275F / 135C
 - put a pot of water on to boil
 - fill the cups with the mixture
 - place the cups in a high sided pan
 - put the water in the pan 3/4 up the sides of the cups
 - place the pan in the oven with a loose cover to protect the custard from the dry heat
 - cook for 1 3/4 hours to 2 hours until the custard no longer jiggles loosely
 - remove from the oven and cool completely
 - to serve, run a knife around the edge and turn out on a dish


Monday, February 4, 2013

Recipe: Creme caramel

set the caramel in the cups
Creme caramel is one of the classic all time desserts.  I've made it for numerous menus over the years and have worked with lots of recipes, but I've narrowed it down to a couple that I'll give you in the next couple posts.  The one common factor and I think the most important thing is this:  give yourself the time to cook them slowly - it will give you the silkiest texture possible.  Eggs are a fickle product and more often than not gentle treatment will give you the best results.  This recipe is the classic formula using half milk and half cream, and will make 10 to 12 portions depending on your dishes.  

whisk the yolks and sugar
If the caramels resist coming out of the cups, you can do two things:  a) with the cup overturned on the plate, take the two together and jerk them downward with a sharp motion until you hear it flop loose - b) with the cup overturned on the plate, pick one edge up just enough to get a finger underneath and gently push the custard away from the side so air can reach the bottom of the cup and it will pop right out.


You will need:

temper the cream into the yolks
500ml / 2C                  milk
500ml / 2C                 cream
8                                 eggs
142g / 5oz                  sugar (plus sugar to make caramel)
10ml / 2tsp                 vanilla


Method:

 - cook sugar in a saucepan to an amber caramel
 - coat the bottom of the dishes with the caramel
set in a water bath and cover
 - put the milk, cream and vanilla in a pot and bring to a simmer
 - crack the eggs in a bowl and whisk with the sugar
 - whisk the hot cream mixture into the eggs
 - strain the mixture
 - set the oven to 275F / 135C
 - set a pot of water on tho boil
 - pour the mixture into the cups
 - set the cups in a high sided pan
 - pour the water in the pan 3/4 up the sides of the cups
 - put the pan in the oven 
 - set a loose fitted cover over the pan to protect the custard from the dry heat
 - cook for 1 3/4 hours to 2 hours until the custard no longer jiggles loosely
cook and cool down
 - remove from the oven and cool completely 
 - to serve, run a knife around the edge of the cup and turn out onto a dish