Thursday, August 16, 2012

Recipe: Garlic chips

Crispy garlic chips are a great way to top off a nice grilled meat.  They are easy to make, but a little tricky to make exceptional.  Follow this procedure and yours will come out fantastic.  If it seems like a lot of garlic, the chips will shrink up a lot.  With the blanching, you will take the edge off the garlic and be free to use them generously.  By bringing the oil up to heat slowly, you essentially dehydrate the chips on the way to the frying stage and minimize the caramelization.  You can also save the oil as a condiment on its own for salads.


You will need:

10            large garlic cloves (elephant garlic works great)
1L / 4C    vegetable oil (grapeseed or canola)

Method:

 - slice the cloves very thinly on a mandolin
 - put the slices in a pot of cold water and bring up to a boil
 - turn off the heat, strain the garlic and place back in the pot with more cold water
 - repeat the blanch three times
 - after the last strain, dry the garlic off on a towel
 - place the garlic in a pan (a wide saute pan is good as it give the chips space to move)
 - add the cold oil
 - bring the oil up to medium heat very slowly
 - as the chips start to gently fry, be careful of the heat level - keep it low so the chips don't colour
 - take a chip out periodically and test how it crisps up as it cools
 - when they are ready, strain out the chips and dry on a paper towel - save the oil for other uses
 - season lightly and let cool 
 - store in an airtight container until use

Recipe: Simple syrup / Sorbet syrup

In the interest of fairness,  I don't want to make assumptions that everyone has taken a culinary course, and occasionally want to make sure certain basics are covered.  Not everyone knows exactly what is referred to when I talk about adding a simple syrup to a recipe, so we can break it down right here.  

As a little something extra, I'm throwing in an alternate recipe for a syrup that I used at a restaurant exclusively for sorbets.  It's worth mentioning that at this restaurant we used a Paco-Jet machine (a high tech ice cream machine - actually grinds rather than churns), so the approach to making sorbets was different.  Even without a Paco-Jet, having a syrup tailored to sorbet making is a good idea.  The inclusion of glucose into the formula helps the sorbet from getting too icy.

Starting with simple syrup, it really is just that.  By definition, it is equal parts by weight of water and sugar.  In a high production environment, you often make a large amount and store it in the fridge.  You then simply take what you need for each recipe.  

Be careful not to forget about the syrup and let it boil too long (it happens with large batches) - a greater amount of water evaporates and the syrup come out sweeter than intended.  It is also important to use cold water as it tastes cleaner.  Do an image search on Google for the inside of a water heater - you want that in your sorbet?

You will need (as an example):

1kg                  cold water
1kg                  granulated sugar

Method:

 - mix the cold water with the sugar
 - bring up to a simmer
 - make sure all the sugar has been dissolved
 - take off the heat
 - cool and store in the fridge

The sorbet syrup is a variation involving glucose for texture.  The procedure is the same as above.

You will need:

1kg                  cold water
750g                granulated sugar
250g                glucose

Tuesday, August 14, 2012

Product review: Silpat silicone baking mats

Silicone mats are so useful in the kitchen it's ridiculous, and it's the Silpat company that really got things going in the first place.  There are so many instances when having a silicone mat adds a level of polish you really can't get any other way.  Baking a sheet cake?  Too often the parchment paper will wrinkle on you on the underside.  Dehydrating fruit or vegetable chips?  Again, wrinkles.  Making crispy bread garnishes?  You'll be fine with paper underneath, but you'll want a silpat on top as the weight will keep the bread from curling up.  If you are working with a convection oven, the air circulation can flip parchment paper up and mess with your product.  Even if you just want to be a little more environmental, a Silpat can be reused until the cows come home.  I even like how using a mat is just a little more effective with heat dispersion - some instances where you may want to double pan your product, a silicone mat provides a bit of a barrier between the food and a very hot sheet pan.  For most people, the half sheet size is perfect for home and a great starting point to find out the advantages of cooking on silicone - you may even want to start by getting two so you have one for the top if making garnishes (perfectly flat bacon chips can only be made with two).  CHECK IT OUT HERE.

Monday, August 13, 2012

Recipe: Avocado shake

If you haven't had one before, an avocado shake seems a bit odd, but once you've had one, you know it's exceptionally refreshing on a hot day.  When I was first introduced to it, it was through a friend who grew up in Vietnam, and we put the ingredients over crushed ice and mixed it with a spoon.  If you throw everything in a blender, you get the milkshake consistency and it's easier to make a bigger batch and serve more people.  The proportions are very much to taste - if you really like avocados, you may want one for each pint-sized serving, and the condensed milk depends on your sweet tooth.  Using ripe avocados is crucial however, unripe ones just don't have the flavour and don't mix so smooth.  This recipe uses one avocado and should serve two - you can customize it from there.  I like a squeeze of lemon or lime juice as additional seasoning, but try the original formula the first time.  A tiny pinch of salt helps the flavour come out too.  A little more adventurous (and Latin-American) would be to garnish with some crushed chilis - "Tajin" seasoning is perfect.

You will need:

1                       ripe avocado
250ml / 1C      crushed ice (6-8 cubes)
to taste             sweetened condensed milk (60-80ml / 1/4 -1/3C)
to taste             milk (60ml / 1/4C or more)
tiny pinch         kosher salt (optional)
squeeze            lemon or lime juice (about 5ml / 1tsp) (optional)

Method:

 - for the crushed ice style, divide all the ingredients between two glasses and mash them all together with a long spoon until the avocado has gone smooth
 - in a blender, add all ingredients, blend, and divide between two glasses

Saturday, August 11, 2012

Recipe: Horchata ice cream

steep the cream
I was thinking ahead when I made the horchata and saved 500ml to make ice cream before adding the milk.  I added cream instead, then adjusted things a bit to account for the egg yolks and keep the flavour profile the same.  I chose not to strain the "pulp" out and keep it pure and it's delicious, but depending on your audience, you may want to strain rather than distract from the product explaining why the ice cream has texture.  If you strain, you will need 500 ml of strained horchata, which will take away from your drinking supply.  Either way, in this recipe, where you use "horchata base", refer to the horchata recipe and take what you need at the stage when everything is blended and flavoured, but before adding the milk (you definitely want the condensed milk in there).  And yes, I used the glucose I made before.

cook the custard
You will need:

500ml / 2C          horchata base
250ml / 1C          cream
125ml / 1/2C       milk
45ml / 3Tbs         glucose
15ml / 1Tbs         vanilla paste (1 bean)
2.5ml / 1/2tsp      ground cinnamon
6                          egg yolks

Method:
churn

 - put the milk, cream and glucose in a small pot to simmer
 - mix the egg yolks, vanilla and cinnamon
 - temper the hot cream into the yolk mix
 - return to the stove and cook to 83C / 181F
 - chill over an ice bath
 - stir in the horchata base
 - chill completely, press plastic wrap onto the surface and let ripen in the fridge overnight
 - give the mix a quick whisk 
 - load into the ice cream machine 
 - churn
 - store in the freezer

enjoy!


Friday, August 10, 2012

Recipe: Horchata

bring to a simmer and steep
Horchata is a deliciously refreshing drink make from rice and can be found quite readily around Latin America.  In fact, we always consider it a good sign of authenticity when trying out a new Mexican restaurant to see that there's horchata available.  This is another recipe coming by way of Abuela Luz (who gave us the stellar chipotle recipe) and is flavoured simply with almonds, vanilla and cinnamon.  Luz is quite noted for some exceptional variations, but we'll start with the basic one.  At first I thought this batch was quite big, but it didn't last long (and I saved a bit to make ice cream), so I'll leave it as it is.  I've seen other recipes recommending straining the horchata, but was quickly corrected against that plan of action.  The "pulp" is part of the drink, so leave it in and give the jug a healthy shake or stir before pouring as it will settle.  I always like the nuttiness of basmati rice, so that's what I used, but any long grain white is fine.

You will need:
blend

250ml / 1C           long grain white rice
250ml / 1C           peeled almonds
1250ml / 5C         water (to start)
1                           cinnamon stick
30ml / 2Tbs          vanilla paste (2 beans)
1000ml / 4C         water (to finish)
750ml / 3C           milk
300ml / 10oz        sweetened condensed milk

Method:

 - wash the rice under cold water
 - put the rice with the almonds and cinnamon in the 5C of water and bring to a simmer
 - turn off the heat and allow to cool completely
 - pull out the cinnamon and use the other 4C of water to blend the rice and almonds fine
 - add the 2Tbs of vanilla, milk and condensed milk and whisk together
 - serve chilled or over ice


Monday, August 6, 2012

Recipe: Shortbread cookies

Shortbread cookies are a favorite of mine, and I find they are nice any time of year - whether with a bowl of berries on a summer evening or a frothy eggnog around Christmas, they always find a home in my belly. What makes this recipe special is the tang from the lemon zest and the crispness provided by the corn starch. You can roll this cookie dough and keep it in the freezer and bake it as needed.

You will need:

1 lb    / 454 g   soft butter
1/2 C / 125 ml corn starch
1 C    / 250 ml icing sugar
3 C    / 750 ml flour
Zest from 2 lemons

Method:

 - cream butter, cornstarch and icing sugar until fluffy
 - add flour one cup at a time until just blended
 - roll the dough into logs, wrap in plastic and chill (or freeze)
 - when baking set oven at 250F / 121C
 - slice cookies from the log 1/8 inch / 0.5 cm
 - place cookies on paper-lined sheet pan 
 - dock the cookies (poke with a fork)
 - bake for 1 hour until crisp and lightly golden

Sunday, August 5, 2012

Recipe: Pate de fruits (fruit jellies)

Pate de fruits are a delicious, light and colourful way to finish a meal, especially if you aren't serving a substantial dessert but still want something sweet at the end.  Whatever fruit puree you use, be sure to strain it before cooking because you'll never get it through the sieve after.  You will need some kind of frame to set the jelly - a square baking ring set on paper works best, but a paper lined pan used for squares works well too.  If you use citric acid, mix it with 1tsp water before using

You will need:

250ml / 1C         fruit puree
10ml / 2tsp         pectin
310ml / 1 1/4C   sugar (plus more for dusting)
5ml / 1tsp           citric acid or lemon juice
60ml / 1/4C        light corn syrup

Method:

 - mix the pectin with half the sugar
 - mix citric acid with water (if necessary) 
 - in a small sauce pan, heat up the puree, sugar and syrup to 100F / 38C
 - add the pectin mixed with the sugar
 - bring to a boil, stirring constantly and scraping the sides of the pan
 - at 225F / 107C, remove from the heat, add the acid and mix well
 - pour into frame and allow to set
 - once set, turn out on a paper sprinkled with sugar
 - cut shapes with a hot, wet knife and toss in granulated sugar
 - store at room temperature in an airtight container

Saturday, August 4, 2012

Recipe: Amaretti cookies

Amaretti cookies are a perfect complement to a good cup of coffee.  The recipe is very easy to make, the skill comes in much the same area as making macaroons - you want a crispy shell and just a hint of a soft centre.  I will give you two cooking times I've used, but finding that happy medium will depend on your oven.  Once you have the batter made, try a few first to check the cook, then do the rest when you feel good about it.  Yes, the sugar in this recipe is "to taste" - sugar will help crisp up the cookies, but you already have some in the almond paste and will be dusting the cookies before baking anyway.  The egg whites crisp up as well, so use as much as you like.

You will need:

125g                almond paste
1                      egg white
to taste            granulated sugar

Method:

 - in a mixer, mix the almond paste and sugar until homogenous and smooth
 - add the egg whites and mix smooth
 - load the mix into a piping bag and pipe short lines on a sheet pan lines with paper or a silicone mat
 - dust with granulated sugar, then tilt the pan to get rid of any excess
 - bake at either:   300F for 30 minutes
                             325F for 12 minutes
 - remove from oven when shell is crispy and the middle is a bit soft
 - cool completely and store in an airtight container

Thursday, August 2, 2012

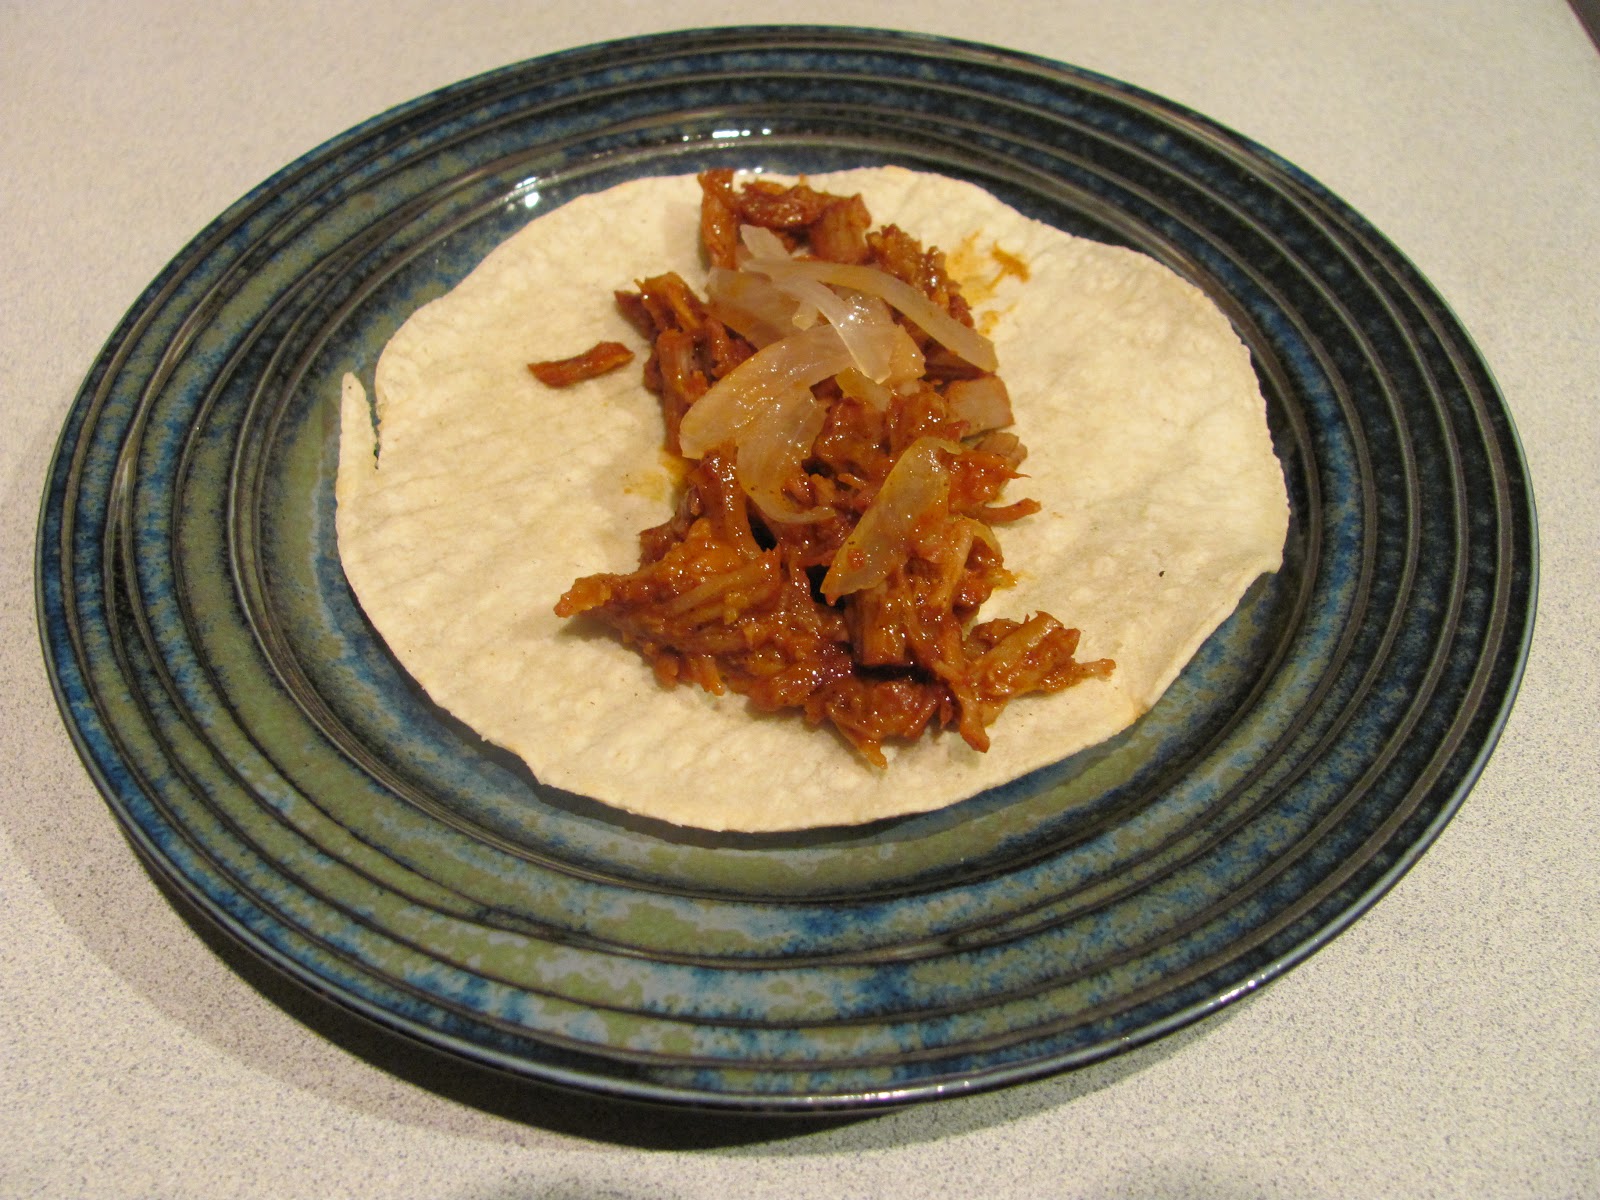
Recipe: Cochinita pibil (achiote pulled pork) / trozos (chunky)


simmer
This dish is always a favorite when we go to Mexico.  It's not difficult to make and can be served like a chunky stew or cooked right down and pulled and served as the ever popular filling for tacos, cochinita pibil, or pulled pork.  Many people are aware of the presence of oranges, but overlook the fact that plantains are just as important.  Some people cook the dish with banana leaves while others get the flavour by slicing plantains right into the broth - some even use both. 

You will need:

900g / 2lbs        pork butt
trozos
500ml / 2C        fresh squeezed orange juice
35g / 1.2oz        achiote paste
2                        plantains
1                        banana leaf (optional)

Method:

 - cut the meat into thick slices
 - if using banana leaf, cover the bottom of a pan with half the leaf and lay the pork on top
 - slice the plantain (peel and all) over the meat
pibil
 - add about a cup of water, lightly salt, and cover with the other half of the leaf
 - slowly simmer the meat until cooked through - about 15 minutes - then remove the meat
 - mix the orange juice and achiote paste
 - if eating chunky, cut the meat into cubes, otherwise leave as slices
 - mix the orange and achiote mix to the cooking liquid
 - return the meat to the pan and bring back to a simmer
 - cook slowly until the liquid has a sauce-like consistency
 - if eating chunky, you are ready to serve
 - if you want to pull the meat, you can cook it further - add a bit more water if it's getting dry
taco
 - remove the meat and pull apart
 - remove the peels of the plantains
 - return the pulled meat to the pan and cook down until the sauce has been completely absorbed
 - serve